

An old handmade wood phone table; something that might not catch everyone’s eye. However, it definitely caught mine. I saw potential in this old table, and knew it would be a great DIY project for my 11 year old daughter to help me with!
This summer I have made it a priority to involve either one or both of my children in any DIY project that I work on. To be able to include them in what I am passionate about, and to teach them the basic use of different hand and power tools, has helped me to fall in love all over again with transforming basic pieces of furniture into unique pieces of art.
For my latest project, my daughter got to pretty much run the show. I let her choose the paint color and many design aspects of the entire piece. She picked out the new drawer pull, drawer liner, and the sign for the side of the table, and she even picked out the cute vintage phone to help stage our new phone table.
Below is a series of photos that we took during our project.


The first step to any good restoration project, is sanding. After sanding, Cam got to work on painting the table. She mixed Beyond Paint’s ‘Soft Grey’ & ‘Pebble’ and called it Cobblestone. Once the table had a few coats of grey, we then worked together to stain and poly the entire piece to give it and aged look as well as give it a nice protective coat of poly. For this, we used Rust-oleum’s Stain + Polyurethane in Dark Walnut. I almost forgot to mention, that I also ‘knocked off’ the top trim detail on the cabinet to give it a more modern and clean look, and because one edge was already broken off when I got it.
The next step is always the hardest: waiting for it to dry! During this time, I taught Cam the fun of using Mod-Podge to apply a piece of postcard scrapbook paper as a liner in the drawer. I think she liked doing this so much that she might just mod-podge our entire apartment!
Cam enjoyed picking out different yardsticks to use for the front of the drawer and the top of the cabinet. Once she had the yardsticks picked out, I got to work measuring and cutting them with a miter saw. I had to do a little mix and match on the top with some different sizes, but in the end it all worked out and they fit perfectly! Cam was in charge of laying down the wood glue, and placing the yard sticks in their places, then we hammered them into place. I used my nail gun at first, but unfortunately, once I got to the thinner yardsticks, the power of the nail gun was a bit too much, so I went back to the good ol’ fashioned hammer and nail, and actually like this look better when working on vintage piece.
Once all of the yardsticks were attached, we sanded down the edges to give them a more uniform look. Then it was time to add some stain and poly! A bit of brushing it on and dabbing it on gave it a nice worn wood look.
The next step was for me to attach the new handle. Since there had never been a handle or a pull on this drawer, I had to measure for the two new holes to be drilled. I’m no perfectionist when it comes to making things even or straight, but somehow, I got it on there perfectly in the right spot!
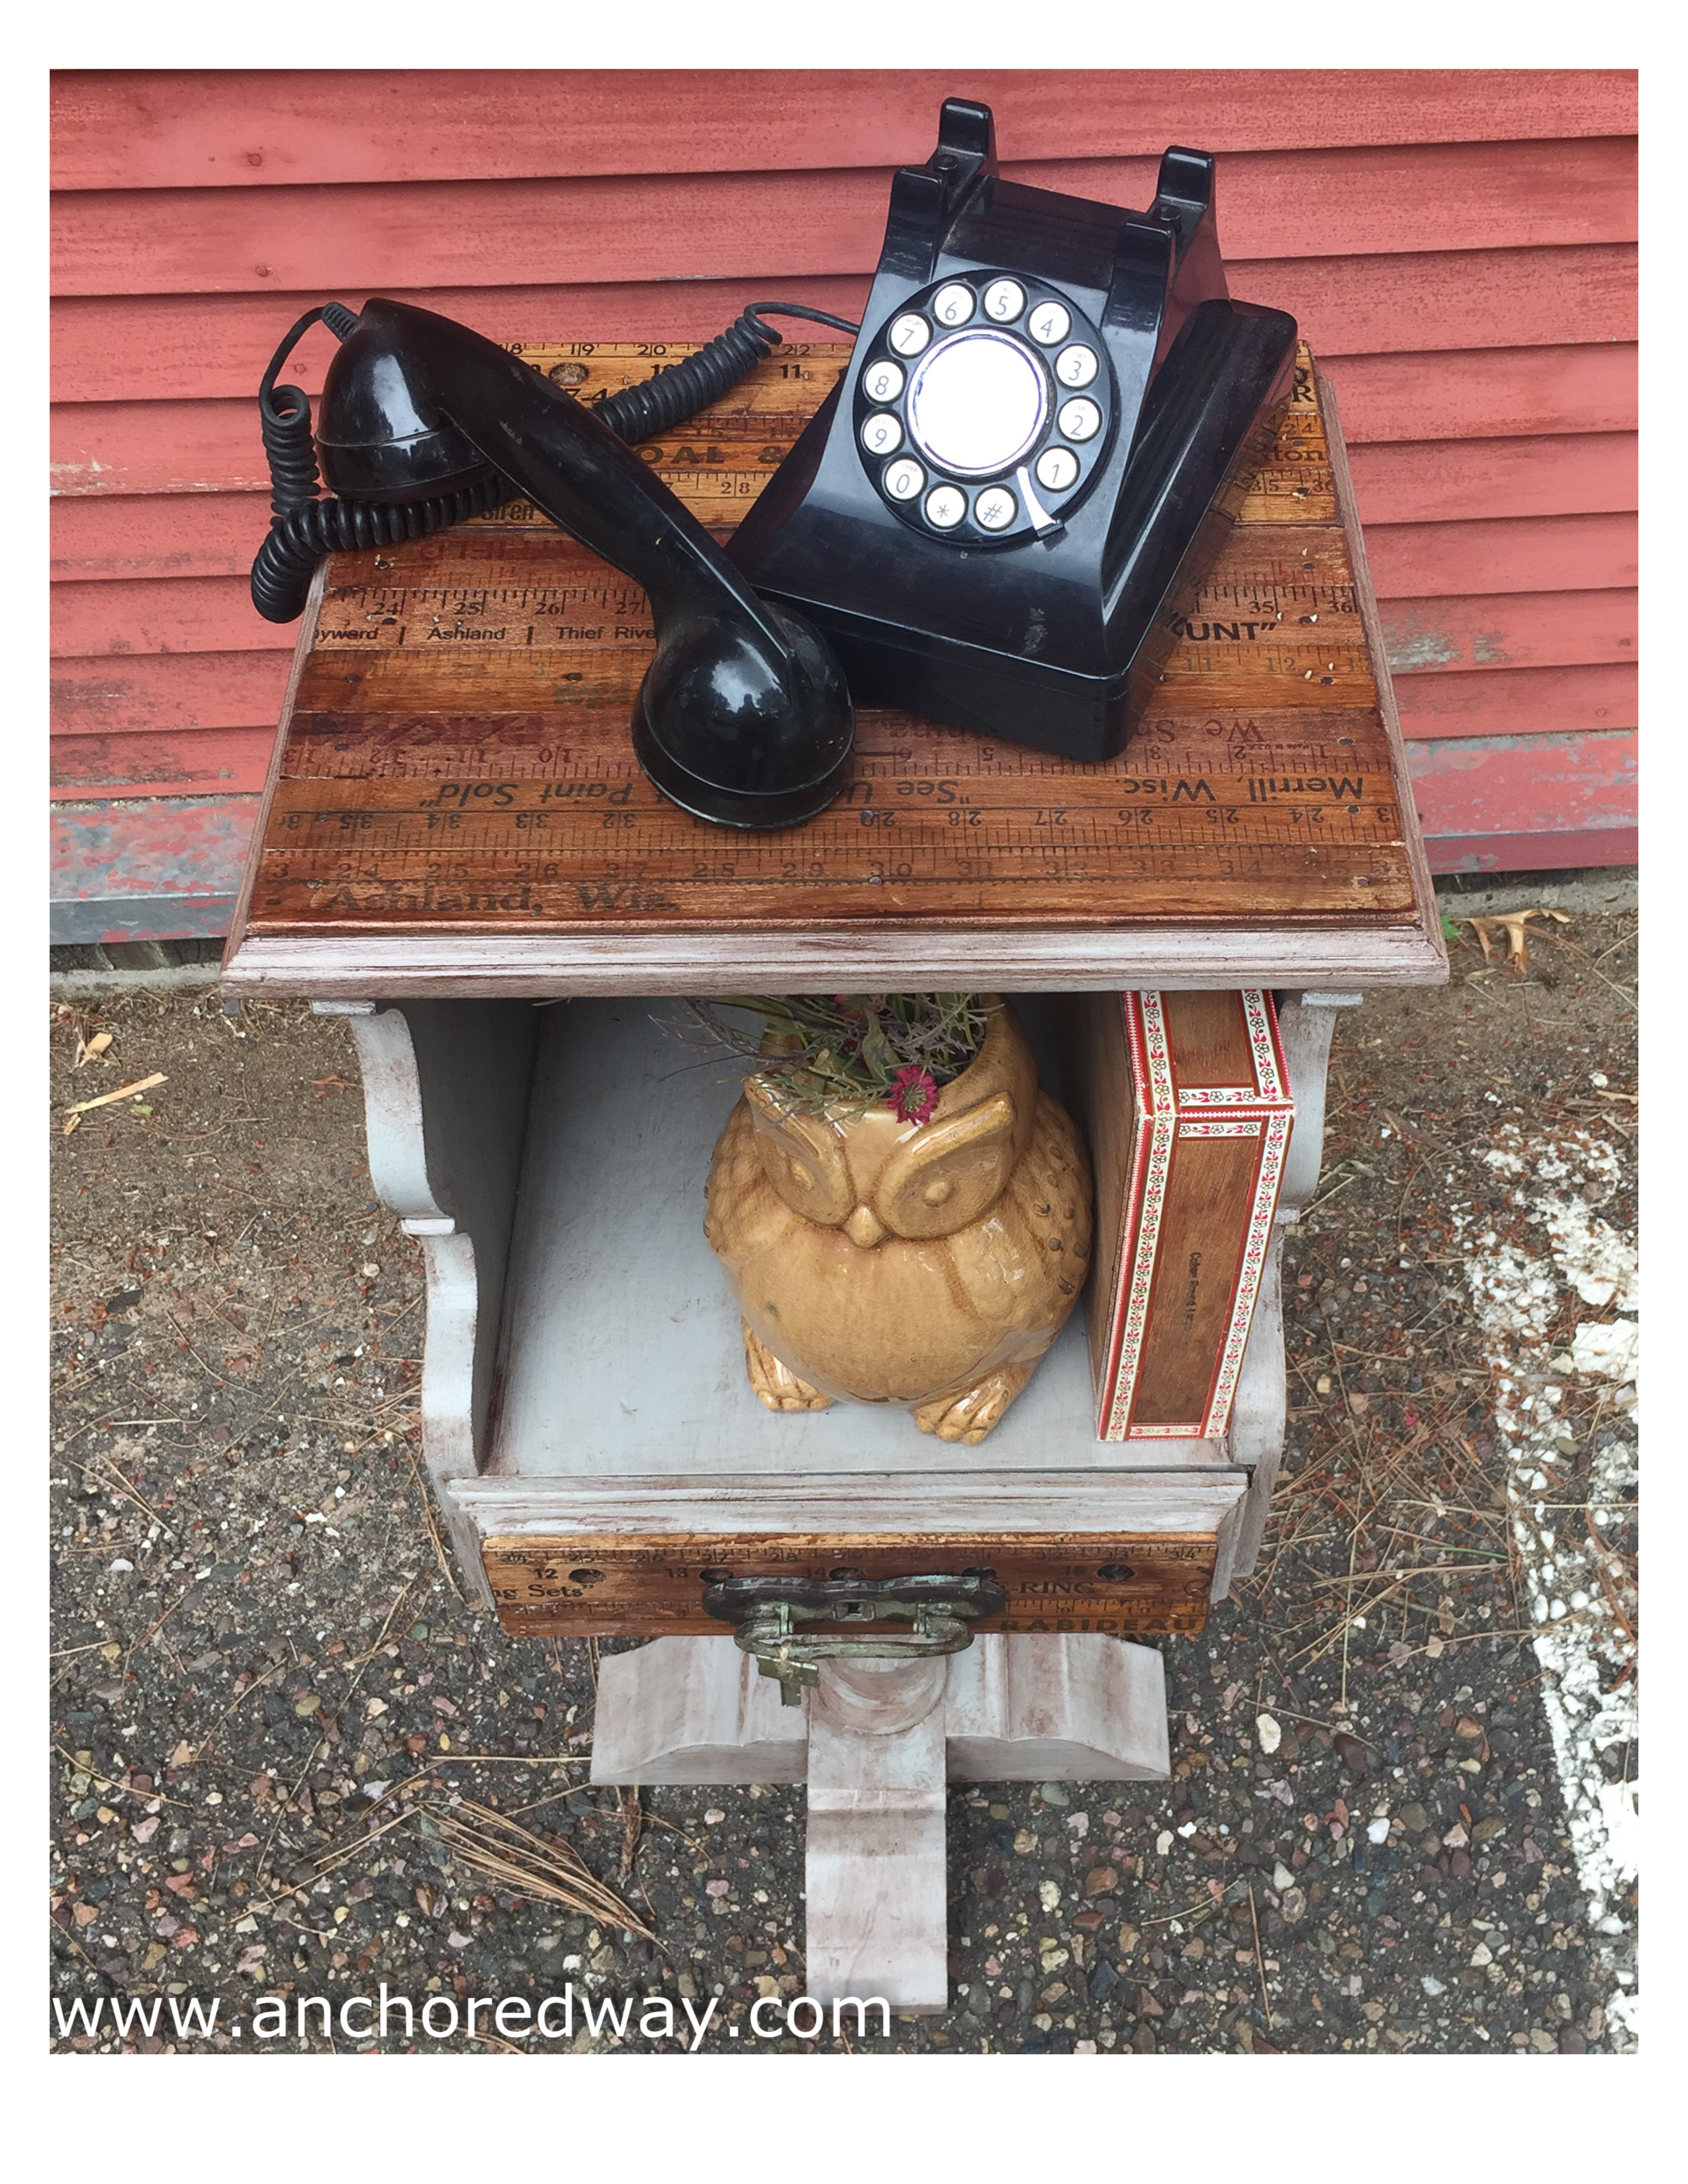
Finally, we attached the phone sign to the side, tied an old key to the front drawer pull and it was complete.
We took our new phone table on a little joy ride around the city of Eau Claire until we found a quiet spot for a photo shoot. I wanted to name the table, but Cam said we couldn’t or she would get too attached to it! So, here it is, our nameless, wonderfully restored and reinvented phone table:
Before:


Thanks so much for joining us on our latest DIY adventure!
As always, feel free to subscribe to keep up with our latest projects!
Thanks for reading,
~ Kelly (and Cam).

