With the cold weather slamming into Wisconsin, per usual, my workshop days are once again limited

Some day I will have a heated work shop, but until then, my garage days are few and far between during the winter months, due to the inability to paint and stain under a certain temperature. The days I do get myself out into the garage usually equals layers of wool socks, long sleeves, layered under hoodies and fluffy down jackets. Thankfully I love winter, so it usually isn’t a problem for me to bundle up and tough it out to get something done! My 2021 goal is to be in my workshop more and do at least two big projects per month (one with each kid), regardless of temperature! I look forward to creating more as well as sharing more of my projects with all of you!
Last week I had a strong urge to create something, but I didn’t really know what. I looked around my workshop for inspiration and as I was going through my scrap-wood pile, an idea hit me. This is usually how my project ideas are born. I never really have a plan, and somehow it just..happens!
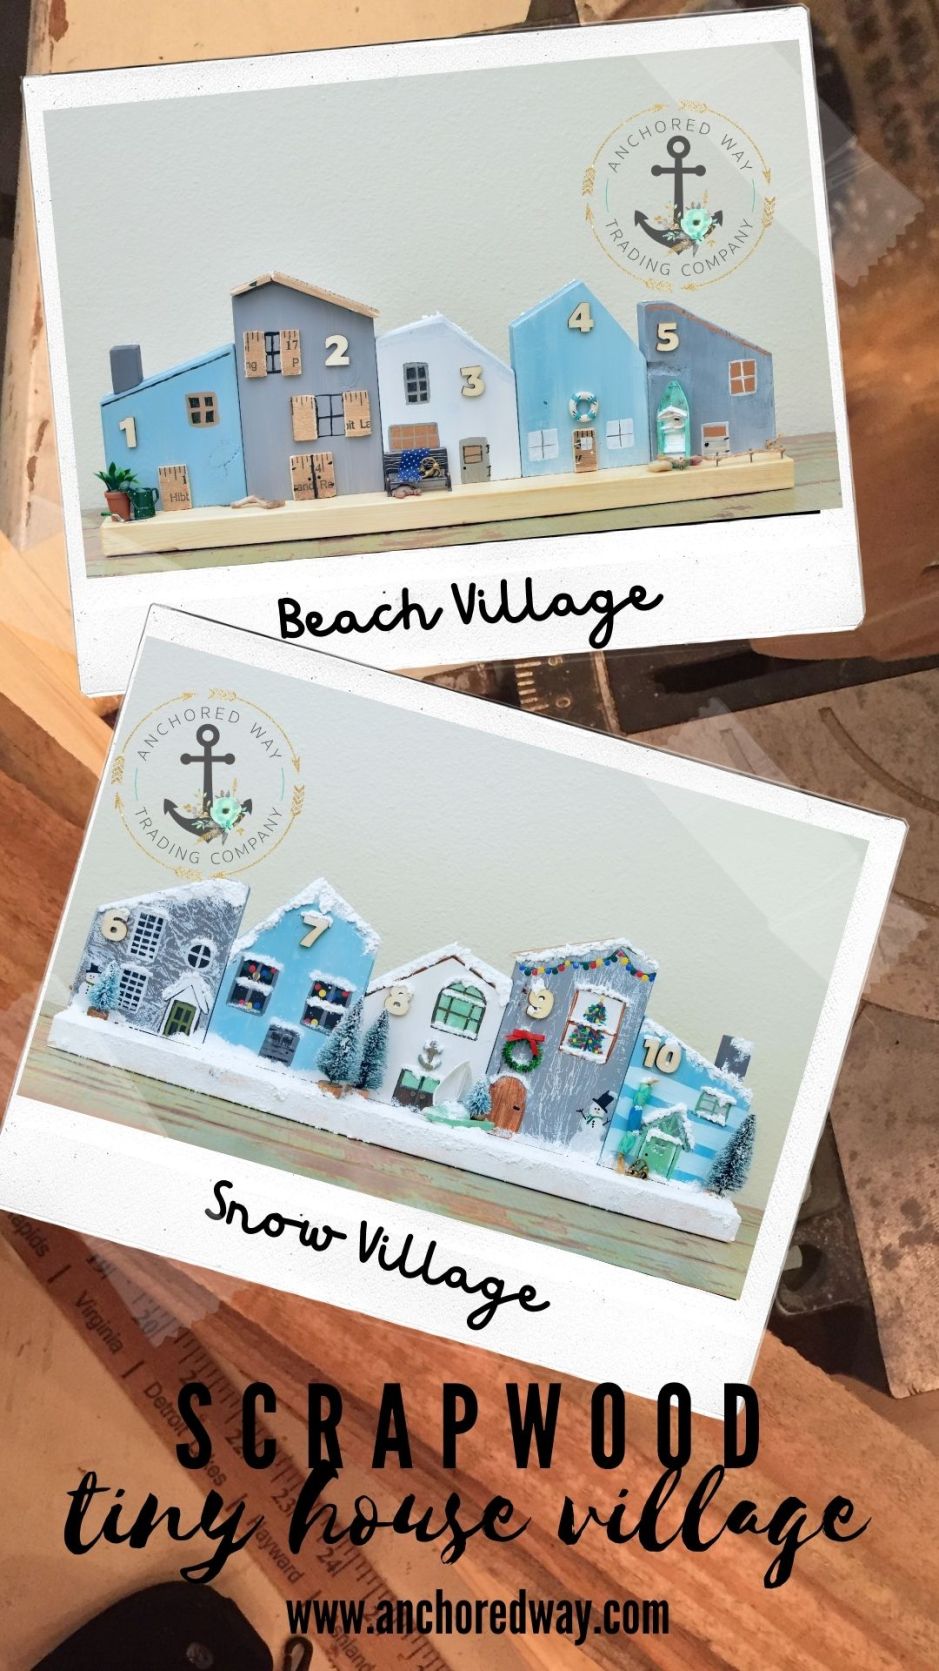
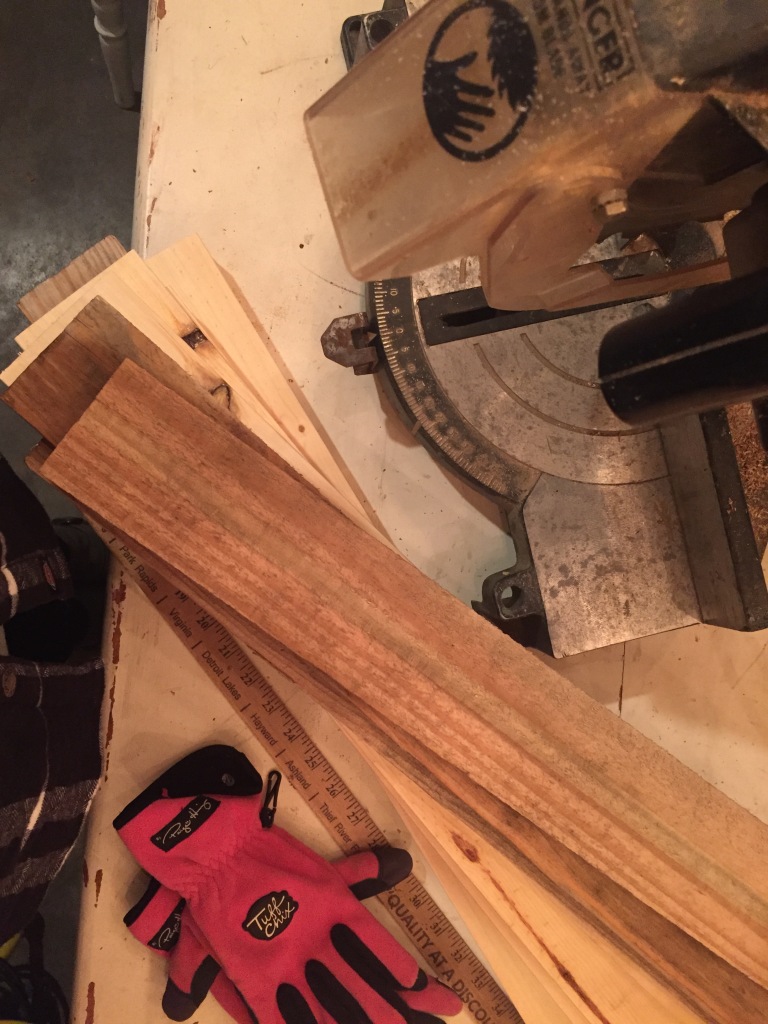
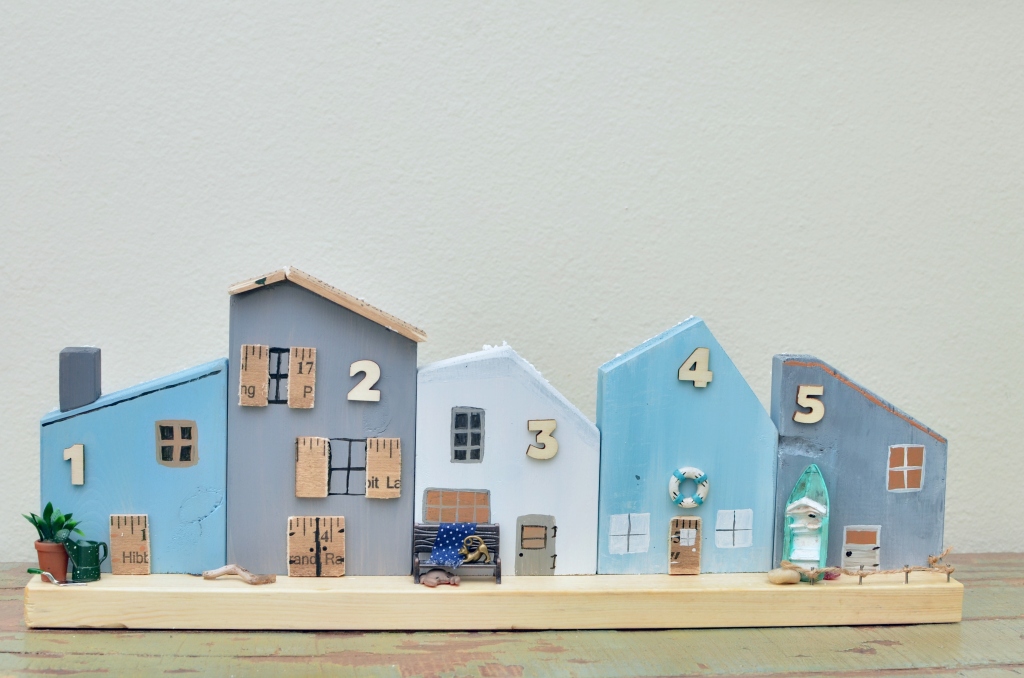
I’ve seen little handmade wooden houses before, and always thought it was a neat idea and something that I could do. So, I set out on a diy adventure to create my own version. I grabbed a few pieces of scrap-wood, my safety glasses, set up shop on my workbench and got to cutting with my handy miter saw. I still didn’t have an exact plan, but had a vision and went with that, cutting one house at a time.
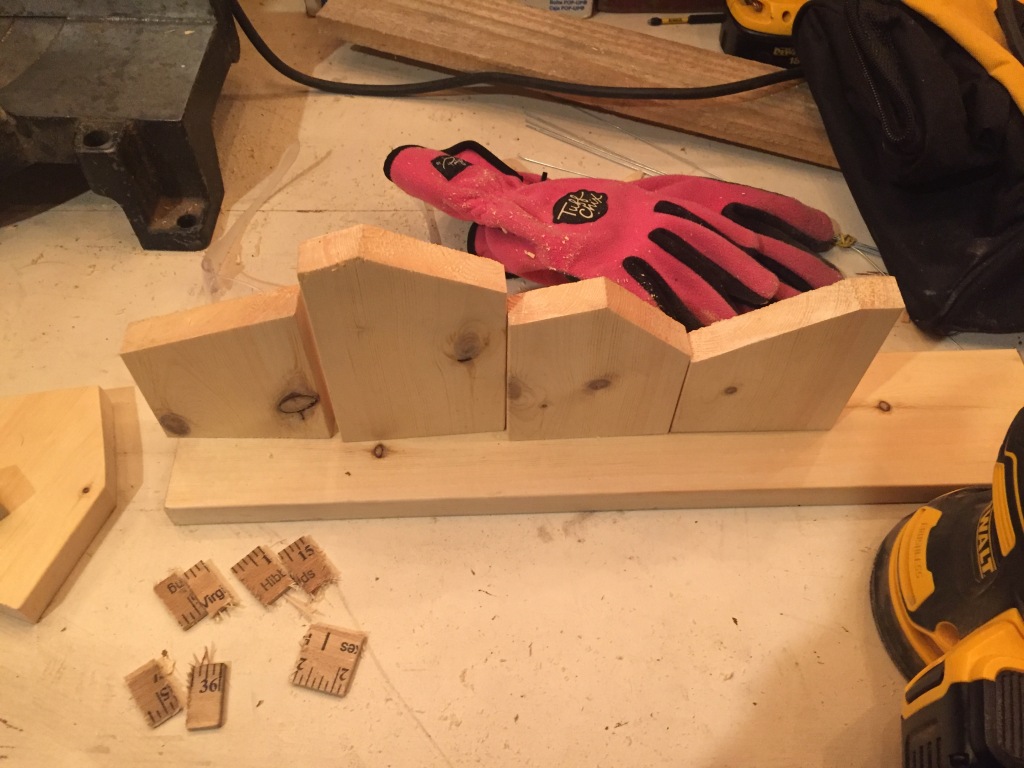
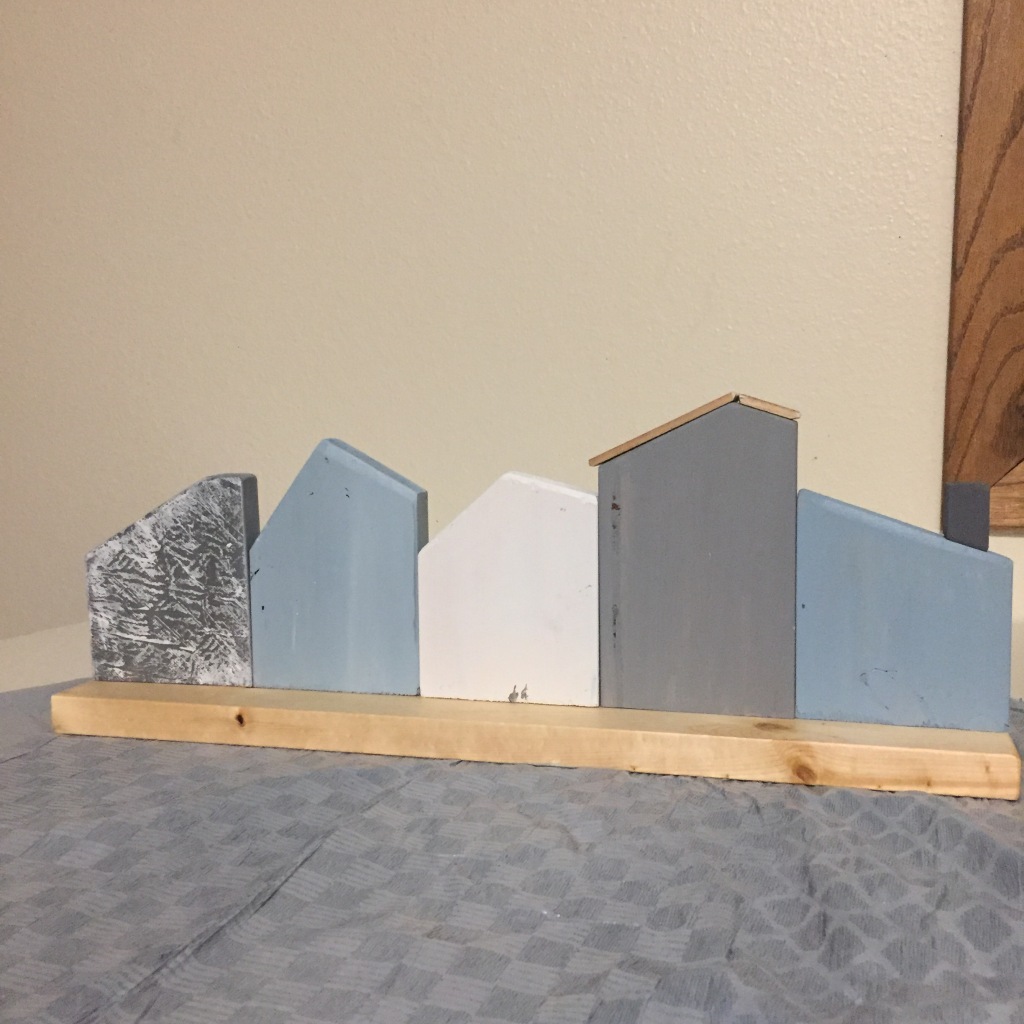
Several cuts and re-cuts of wood later to get the right roof pitches, I was finished with cutting all of the 5 houses and moved inside to complete the rest of the project. My kids deserve a lot of praise for dealing with my art projects consuming our kitchen table many days during the winter months. In all honesty though, if my art projects aren’t there, then theirs are, so it’s a fabulous understanding that we are a creative family and if we have to push aside the paint can for our dinner plates, that is okay.
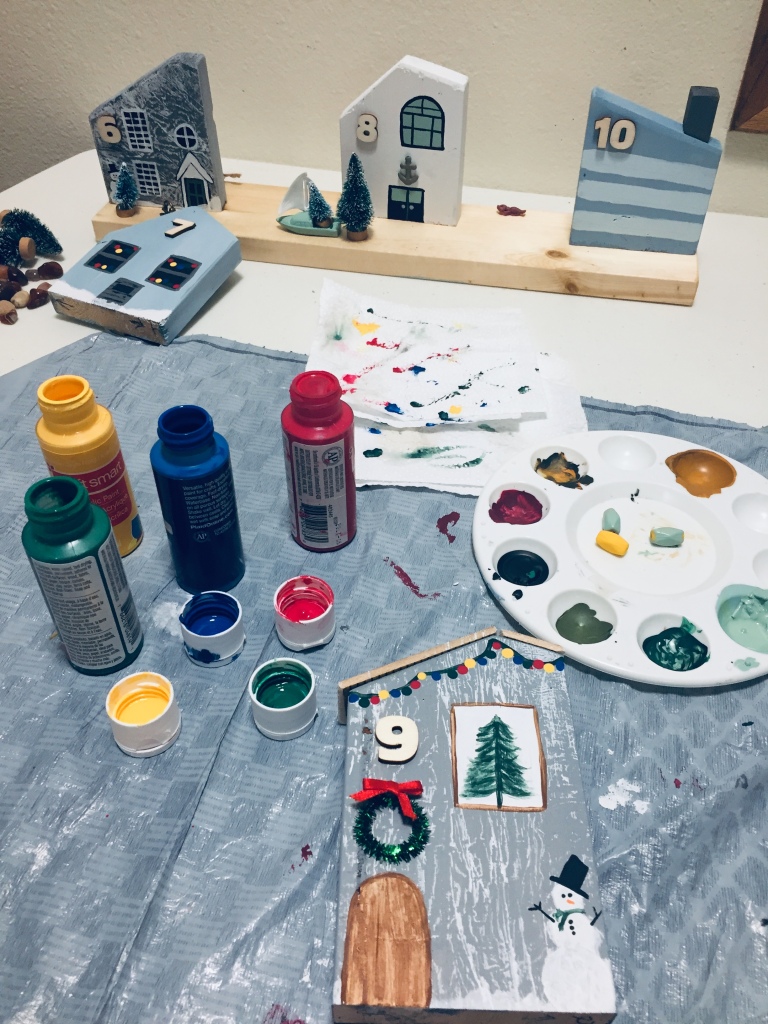
I always recruit my kids to help me on projects in one way or another. This time it was with painting.
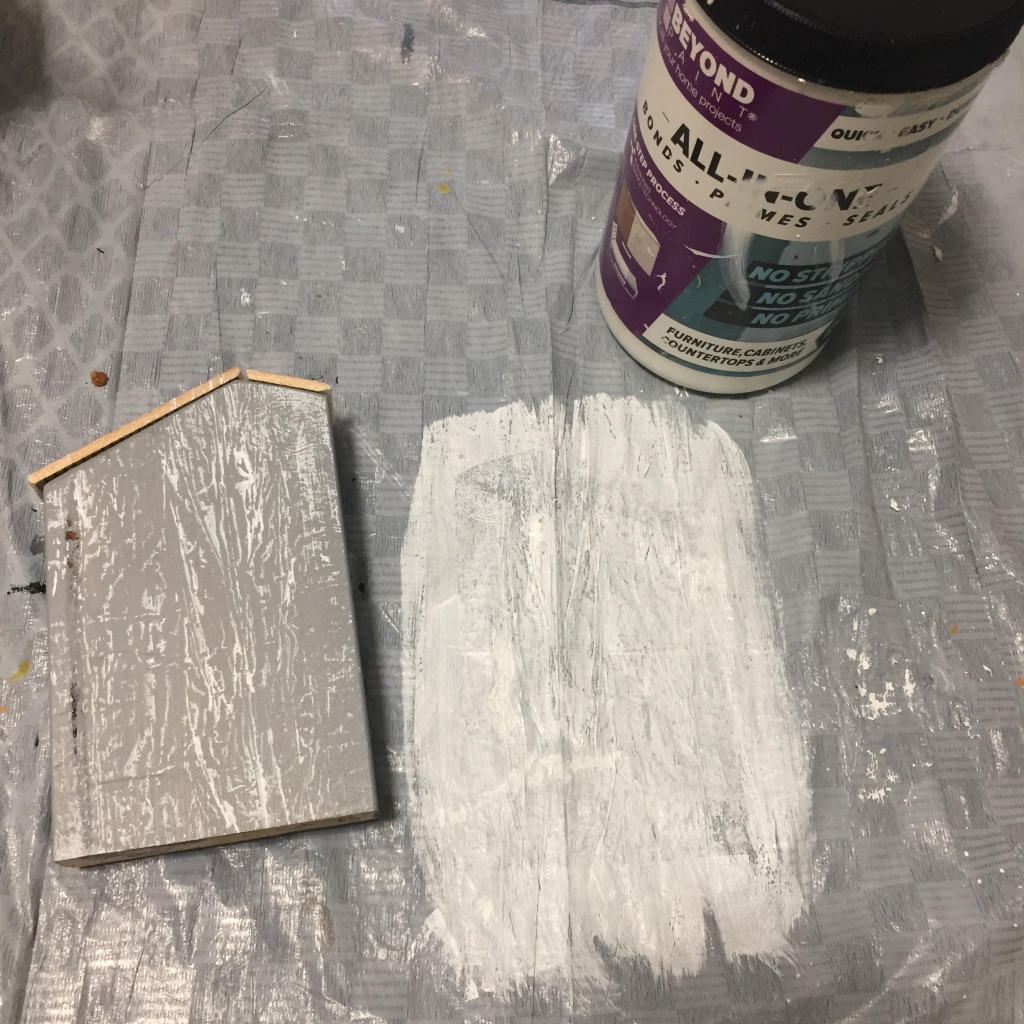
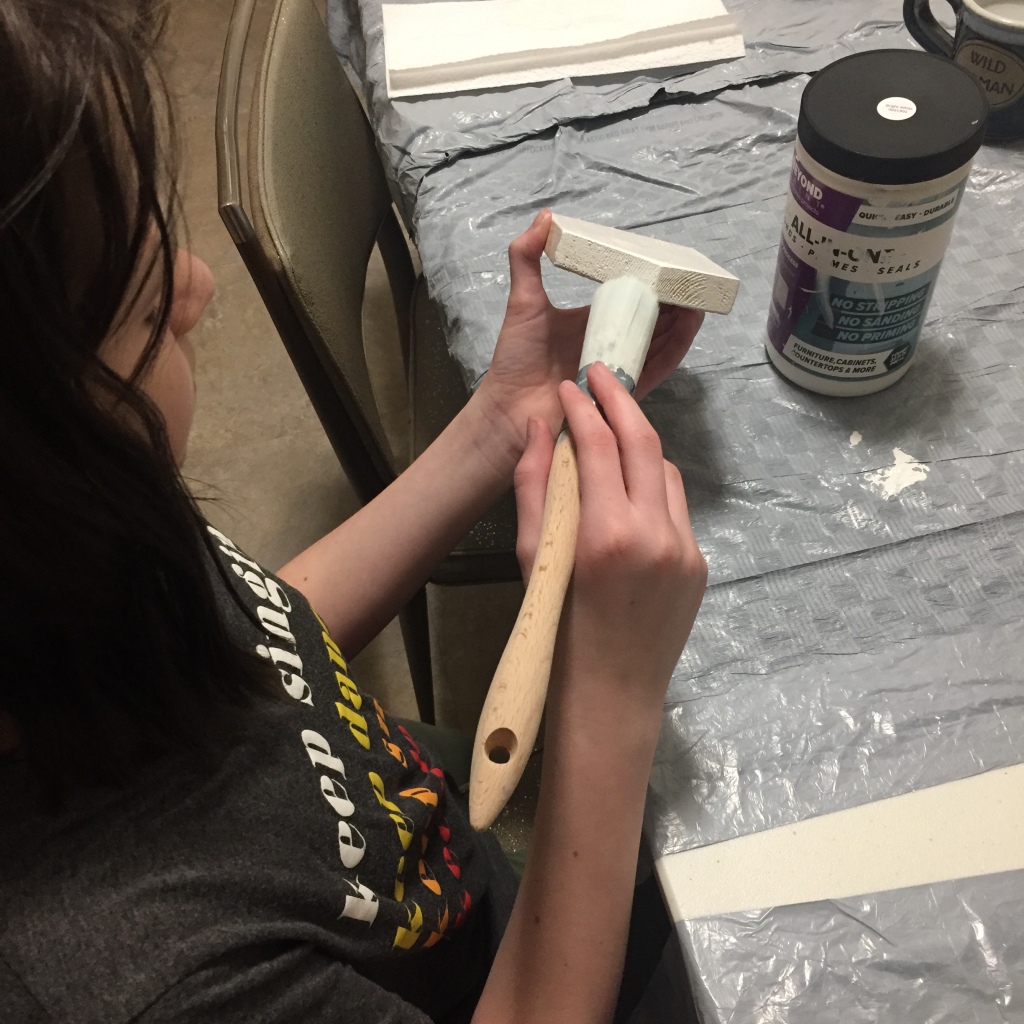
We love using Beyond Paint paired with Zibra paint brushes!
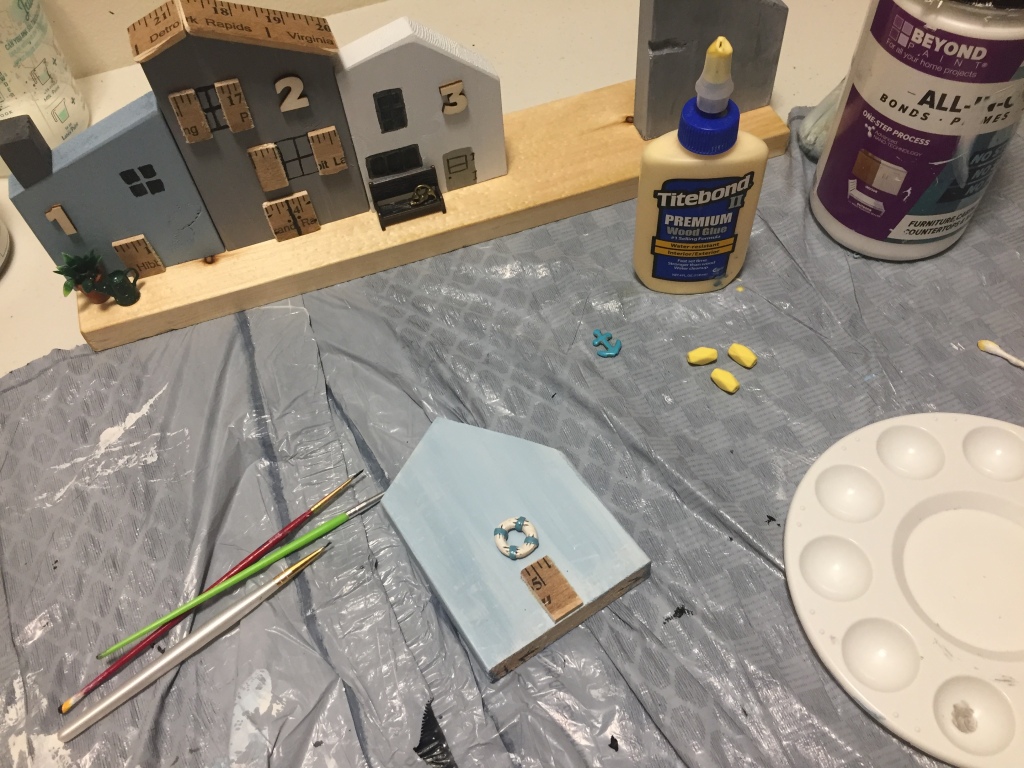
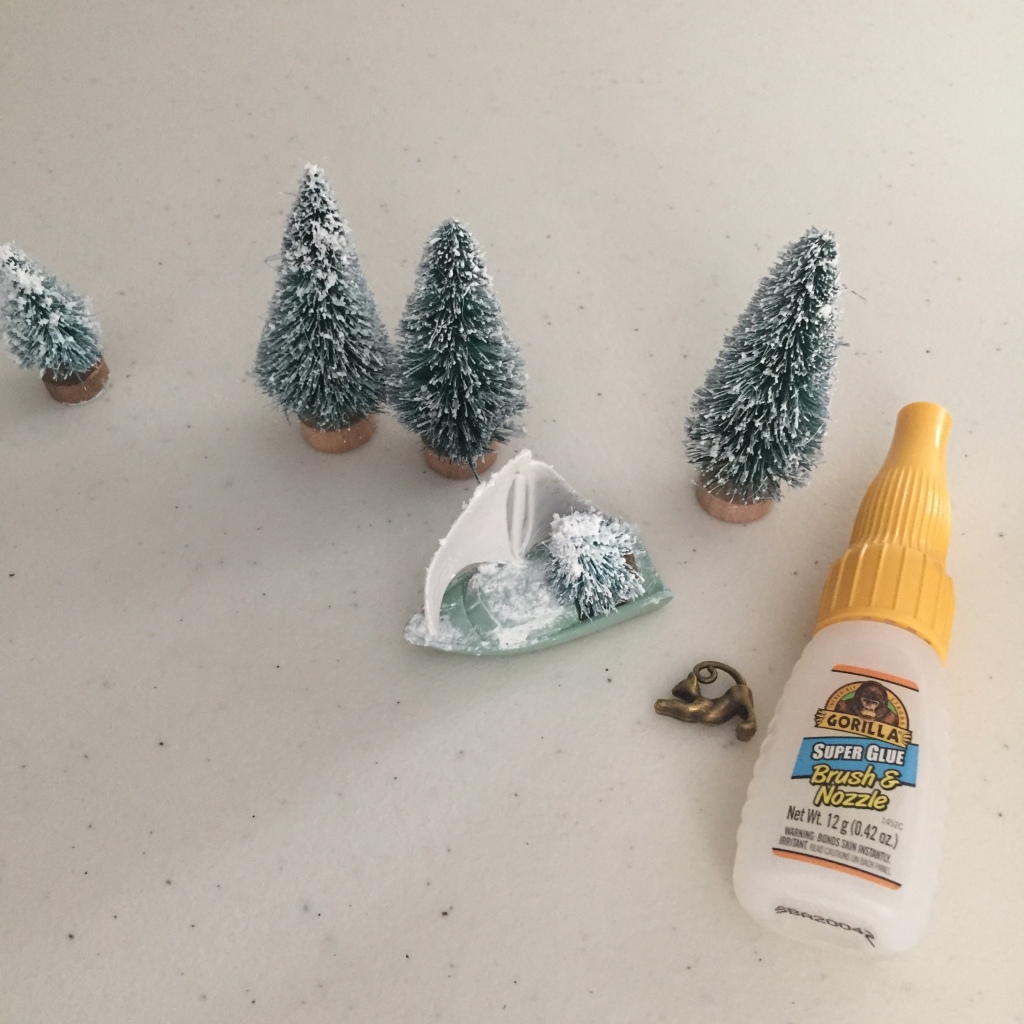
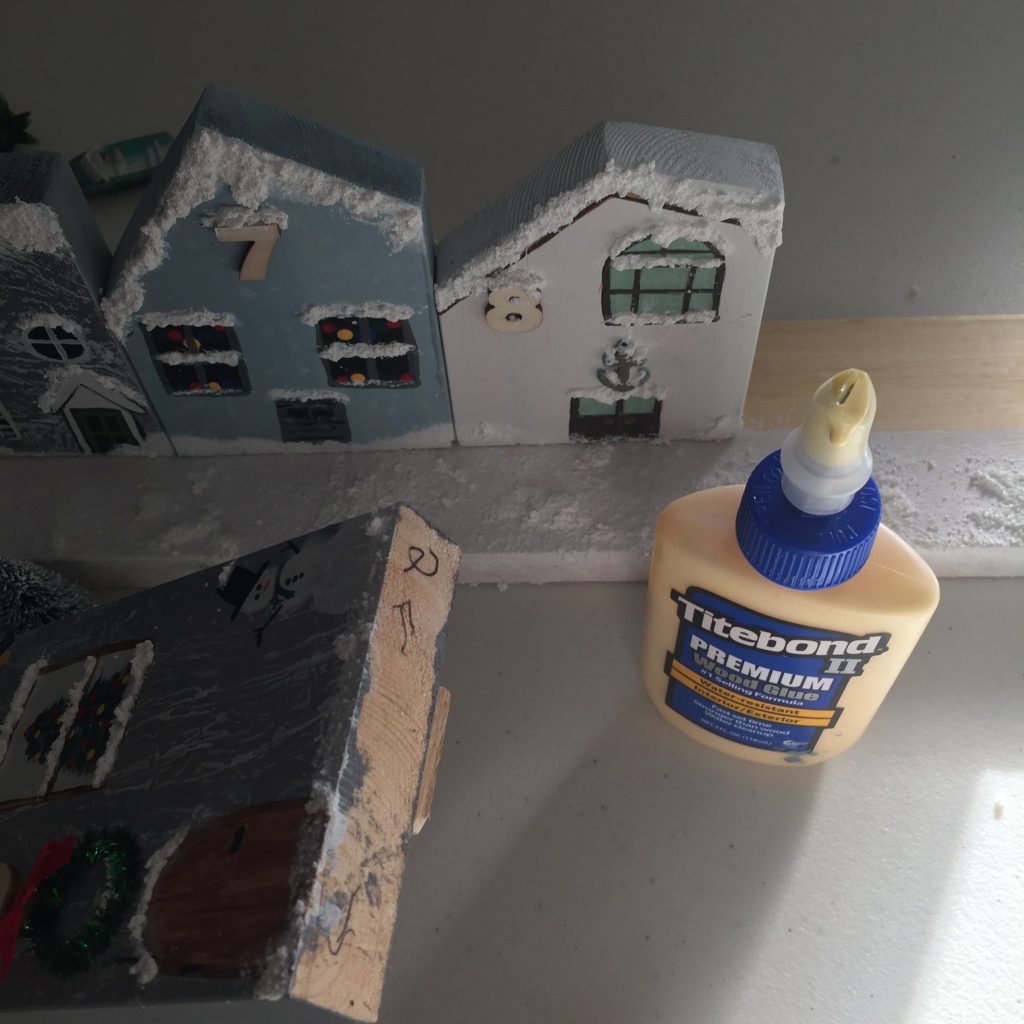
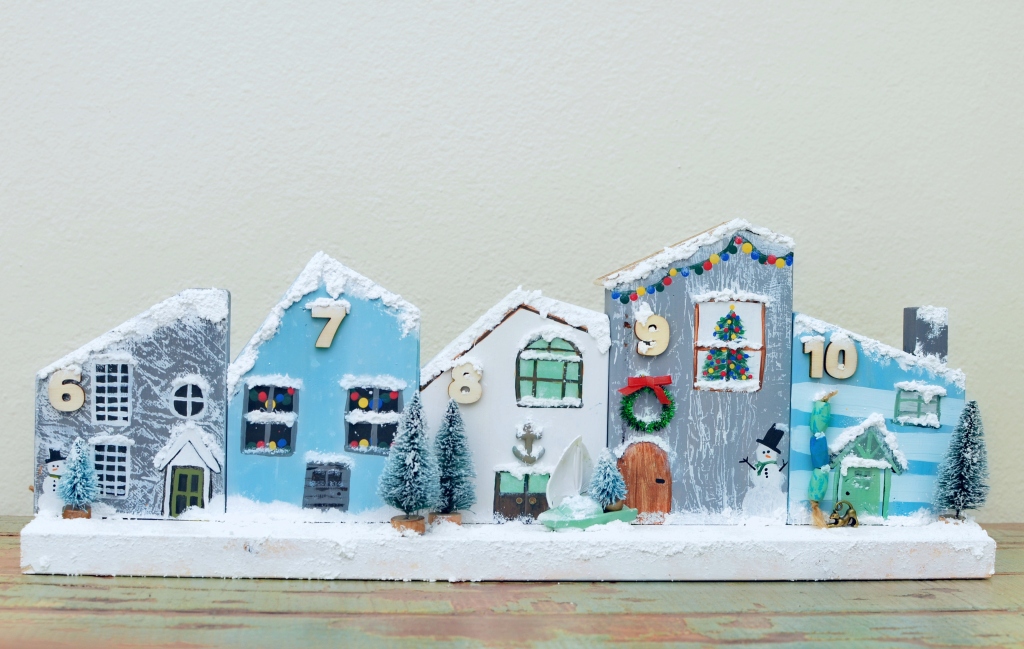
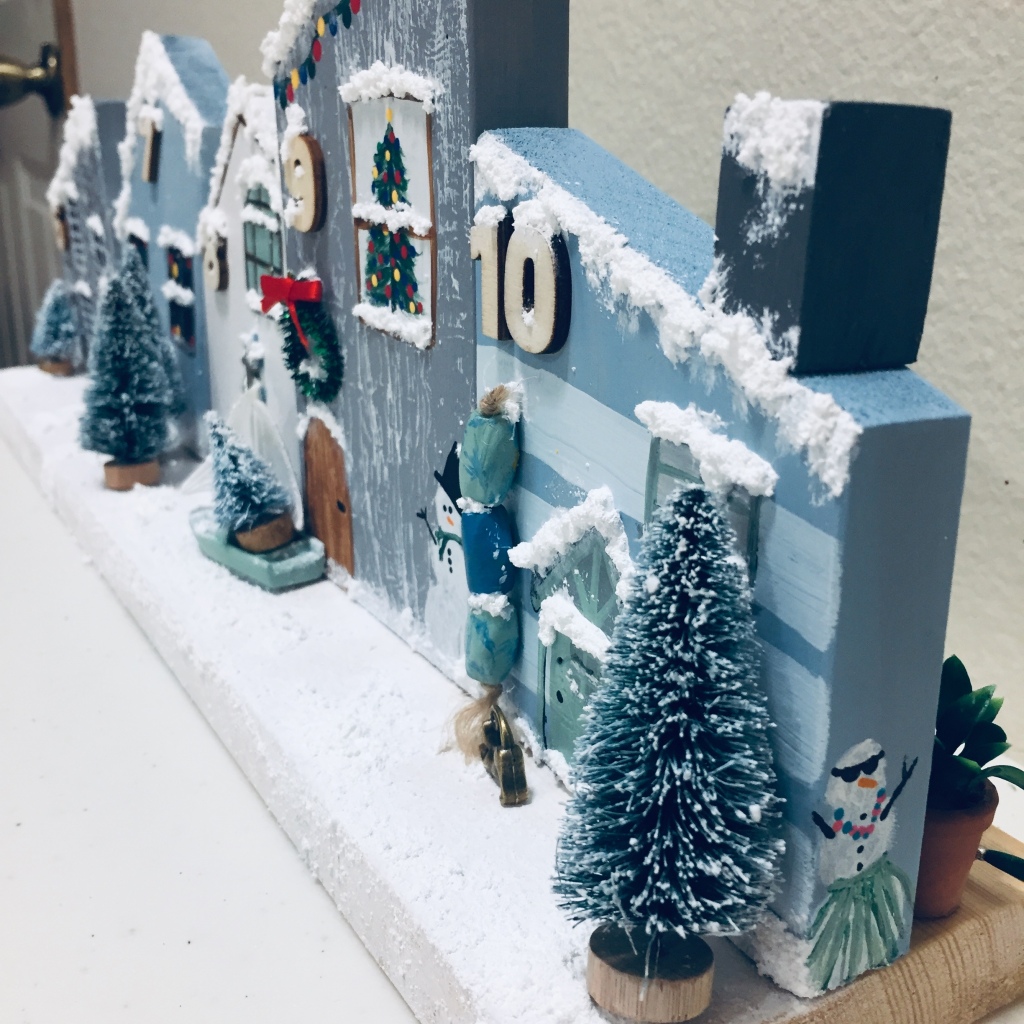
The painting part of the project, mixed in with our regular living, took about two days, mostly because we kept adding more details and more (and more) ideas as we went along. Below is a series of photos I took while working on the village.

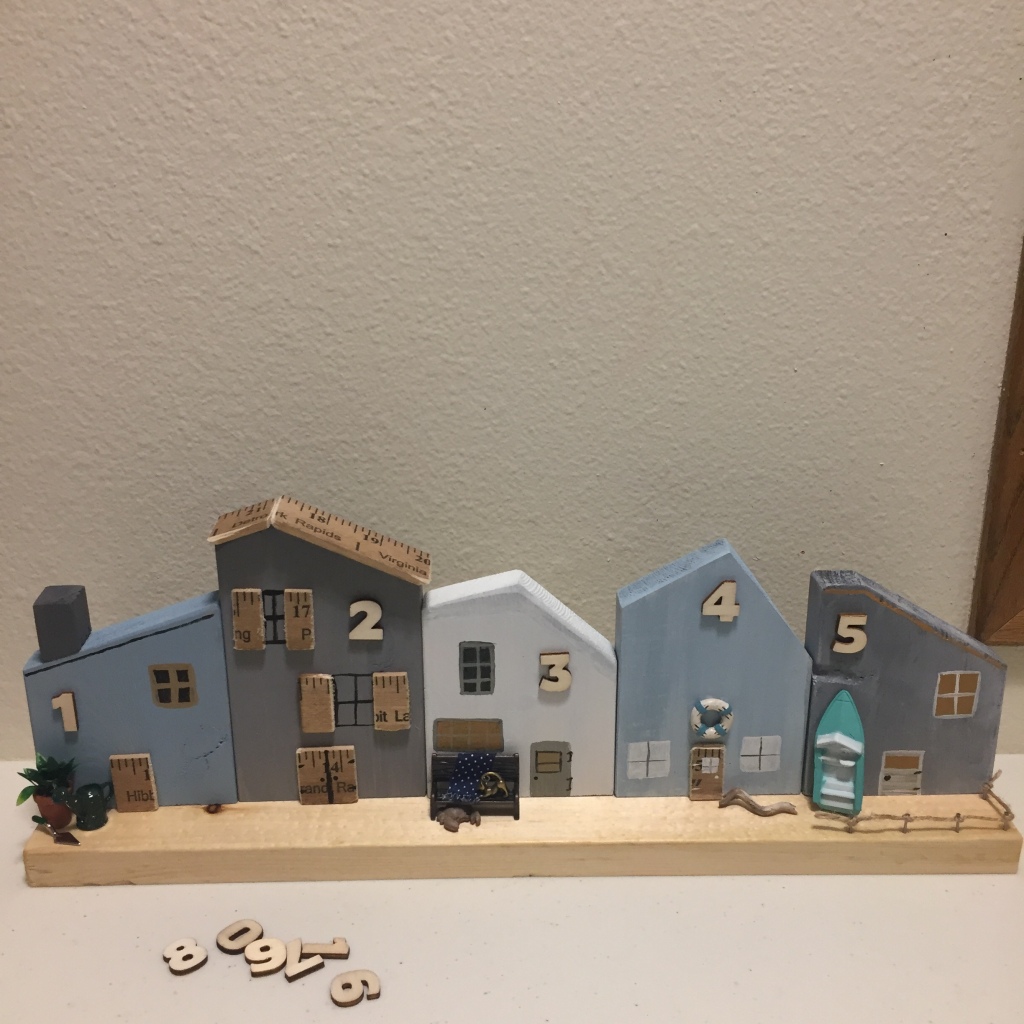
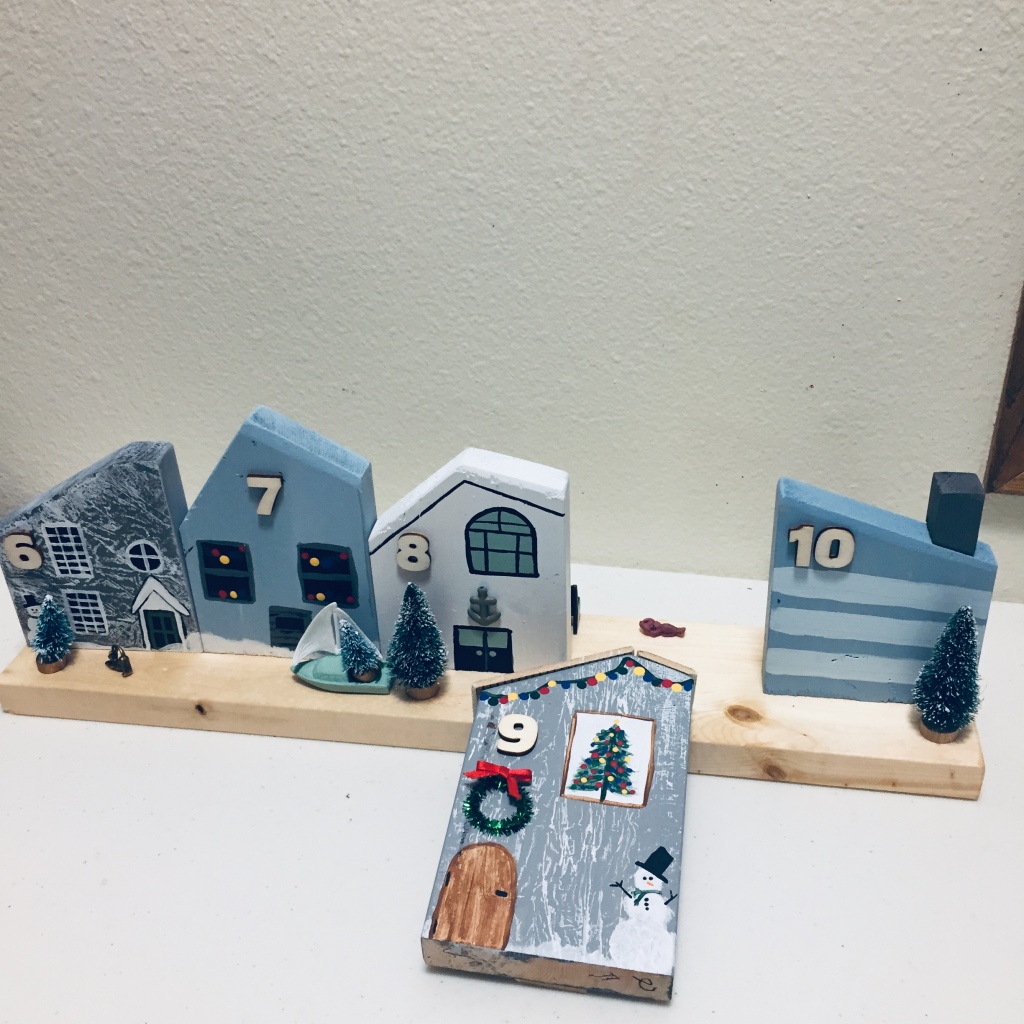
After many hours of painting, adding snow, and gluing on miniatures, our project was finally complete!
Project steps:
- Gather scrap-wood.
- Cut wood pieces to resemble house shapes, using a miter saw.
- Cut yardsticks or scrap wood pieces that you’d like to use for doors, shutters or house roofs.
- Paint each house individually, however you’d like!
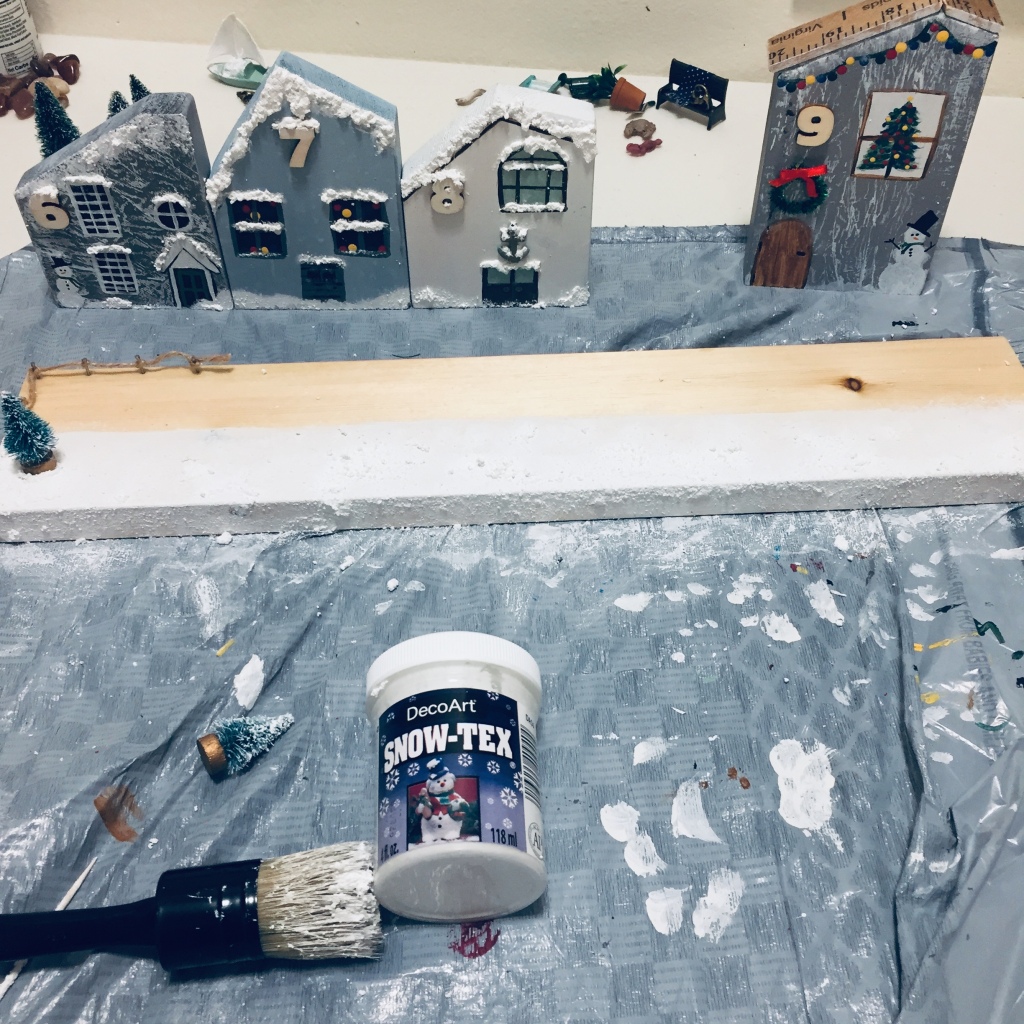
- Once houses are painted on both sides, add Snow-Tex snow to the winter side.
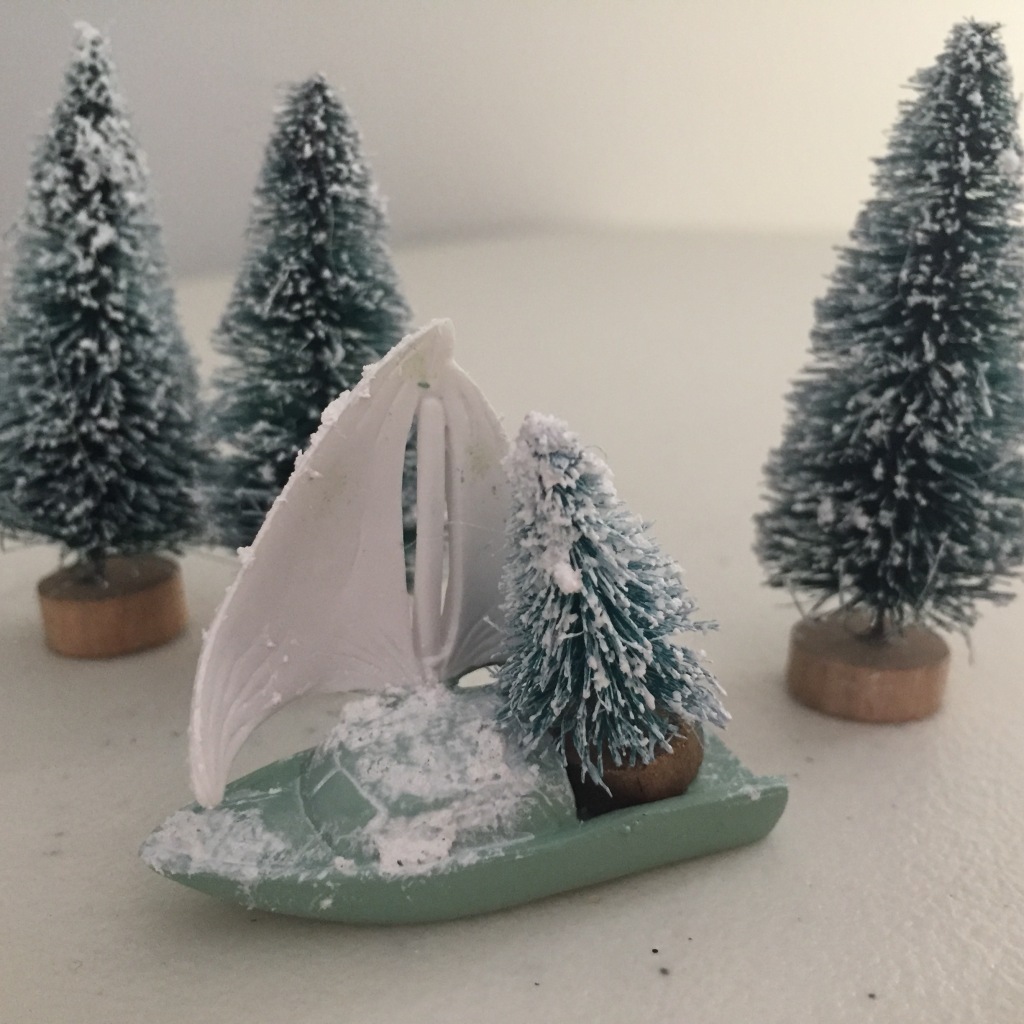
- Paint any miniatures that you’d like to change. (For example, we painted the boats on both sides, to help them coordinate better, as well as the ‘buoys’ hanging from house 10, that were originally yellow beads.)
- Dab/Paint Snow-Tex onto one half of the board.
- Use hobby nails + string to create a beach rope fence.
- Wood glue down the houses, to the flat board, one at a time. Make sure to dab on some wood glue in between each house as well for a better hold. If you want it even more secure, you could use a brad nailer with small nails, added in from the bottom side.
- Let the glue dry!
- Your project is complete!
- Sip your coffee and marvel back at a job well done!
Project Supplies:
- Scrap wood
- Miter Saw (Optional, could use a hand saw as well)
- Dewalt brad nailer (Optional)
- Wood Glue
- Super Glue
- Paint
- Paint brushes
- Snow-Tex Snow paint
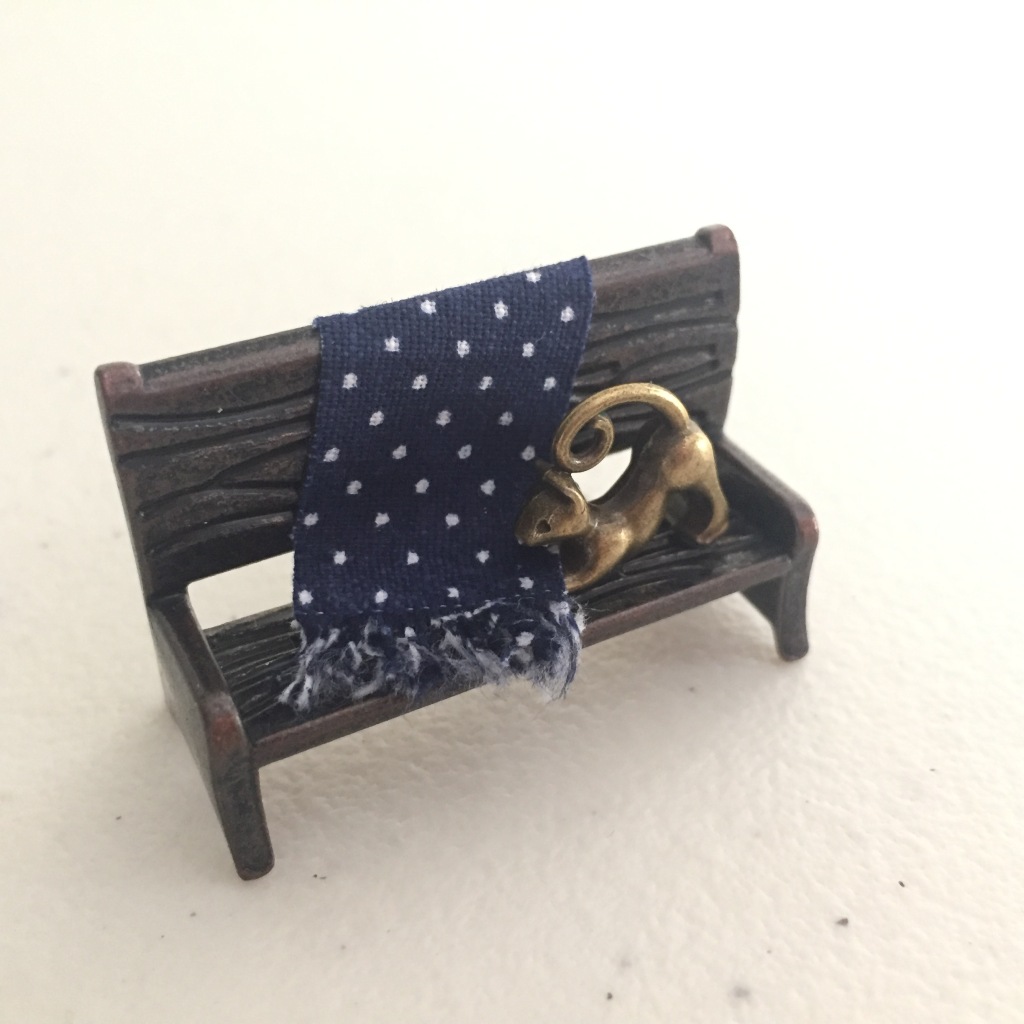
- Miniatures of your choice
While working on this project, I imagined that each little home is a different vacation rental. So tell me, which # rental would you stay in? I’m kind of partial to building # 9 on the snowy side!
I hope you enjoyed reading about my latest project! Stay tuned next week for a fun DIY gift for kids that anyone can make at home!
You can also view this project over on Hometalk!