

It’s been quite a while since I paired creativity with the use of my green thumb. Several years ago, I created a Primitive Tipsy Pot Planter and I felt like it was time to do something similar, but this time, I wanted to give it a little bit of a twist. Although we are now moving into the colder time of year here in Wisconsin, I thought it would be a good time to share a fun project that you can complete indoors or out, regardless of weather!
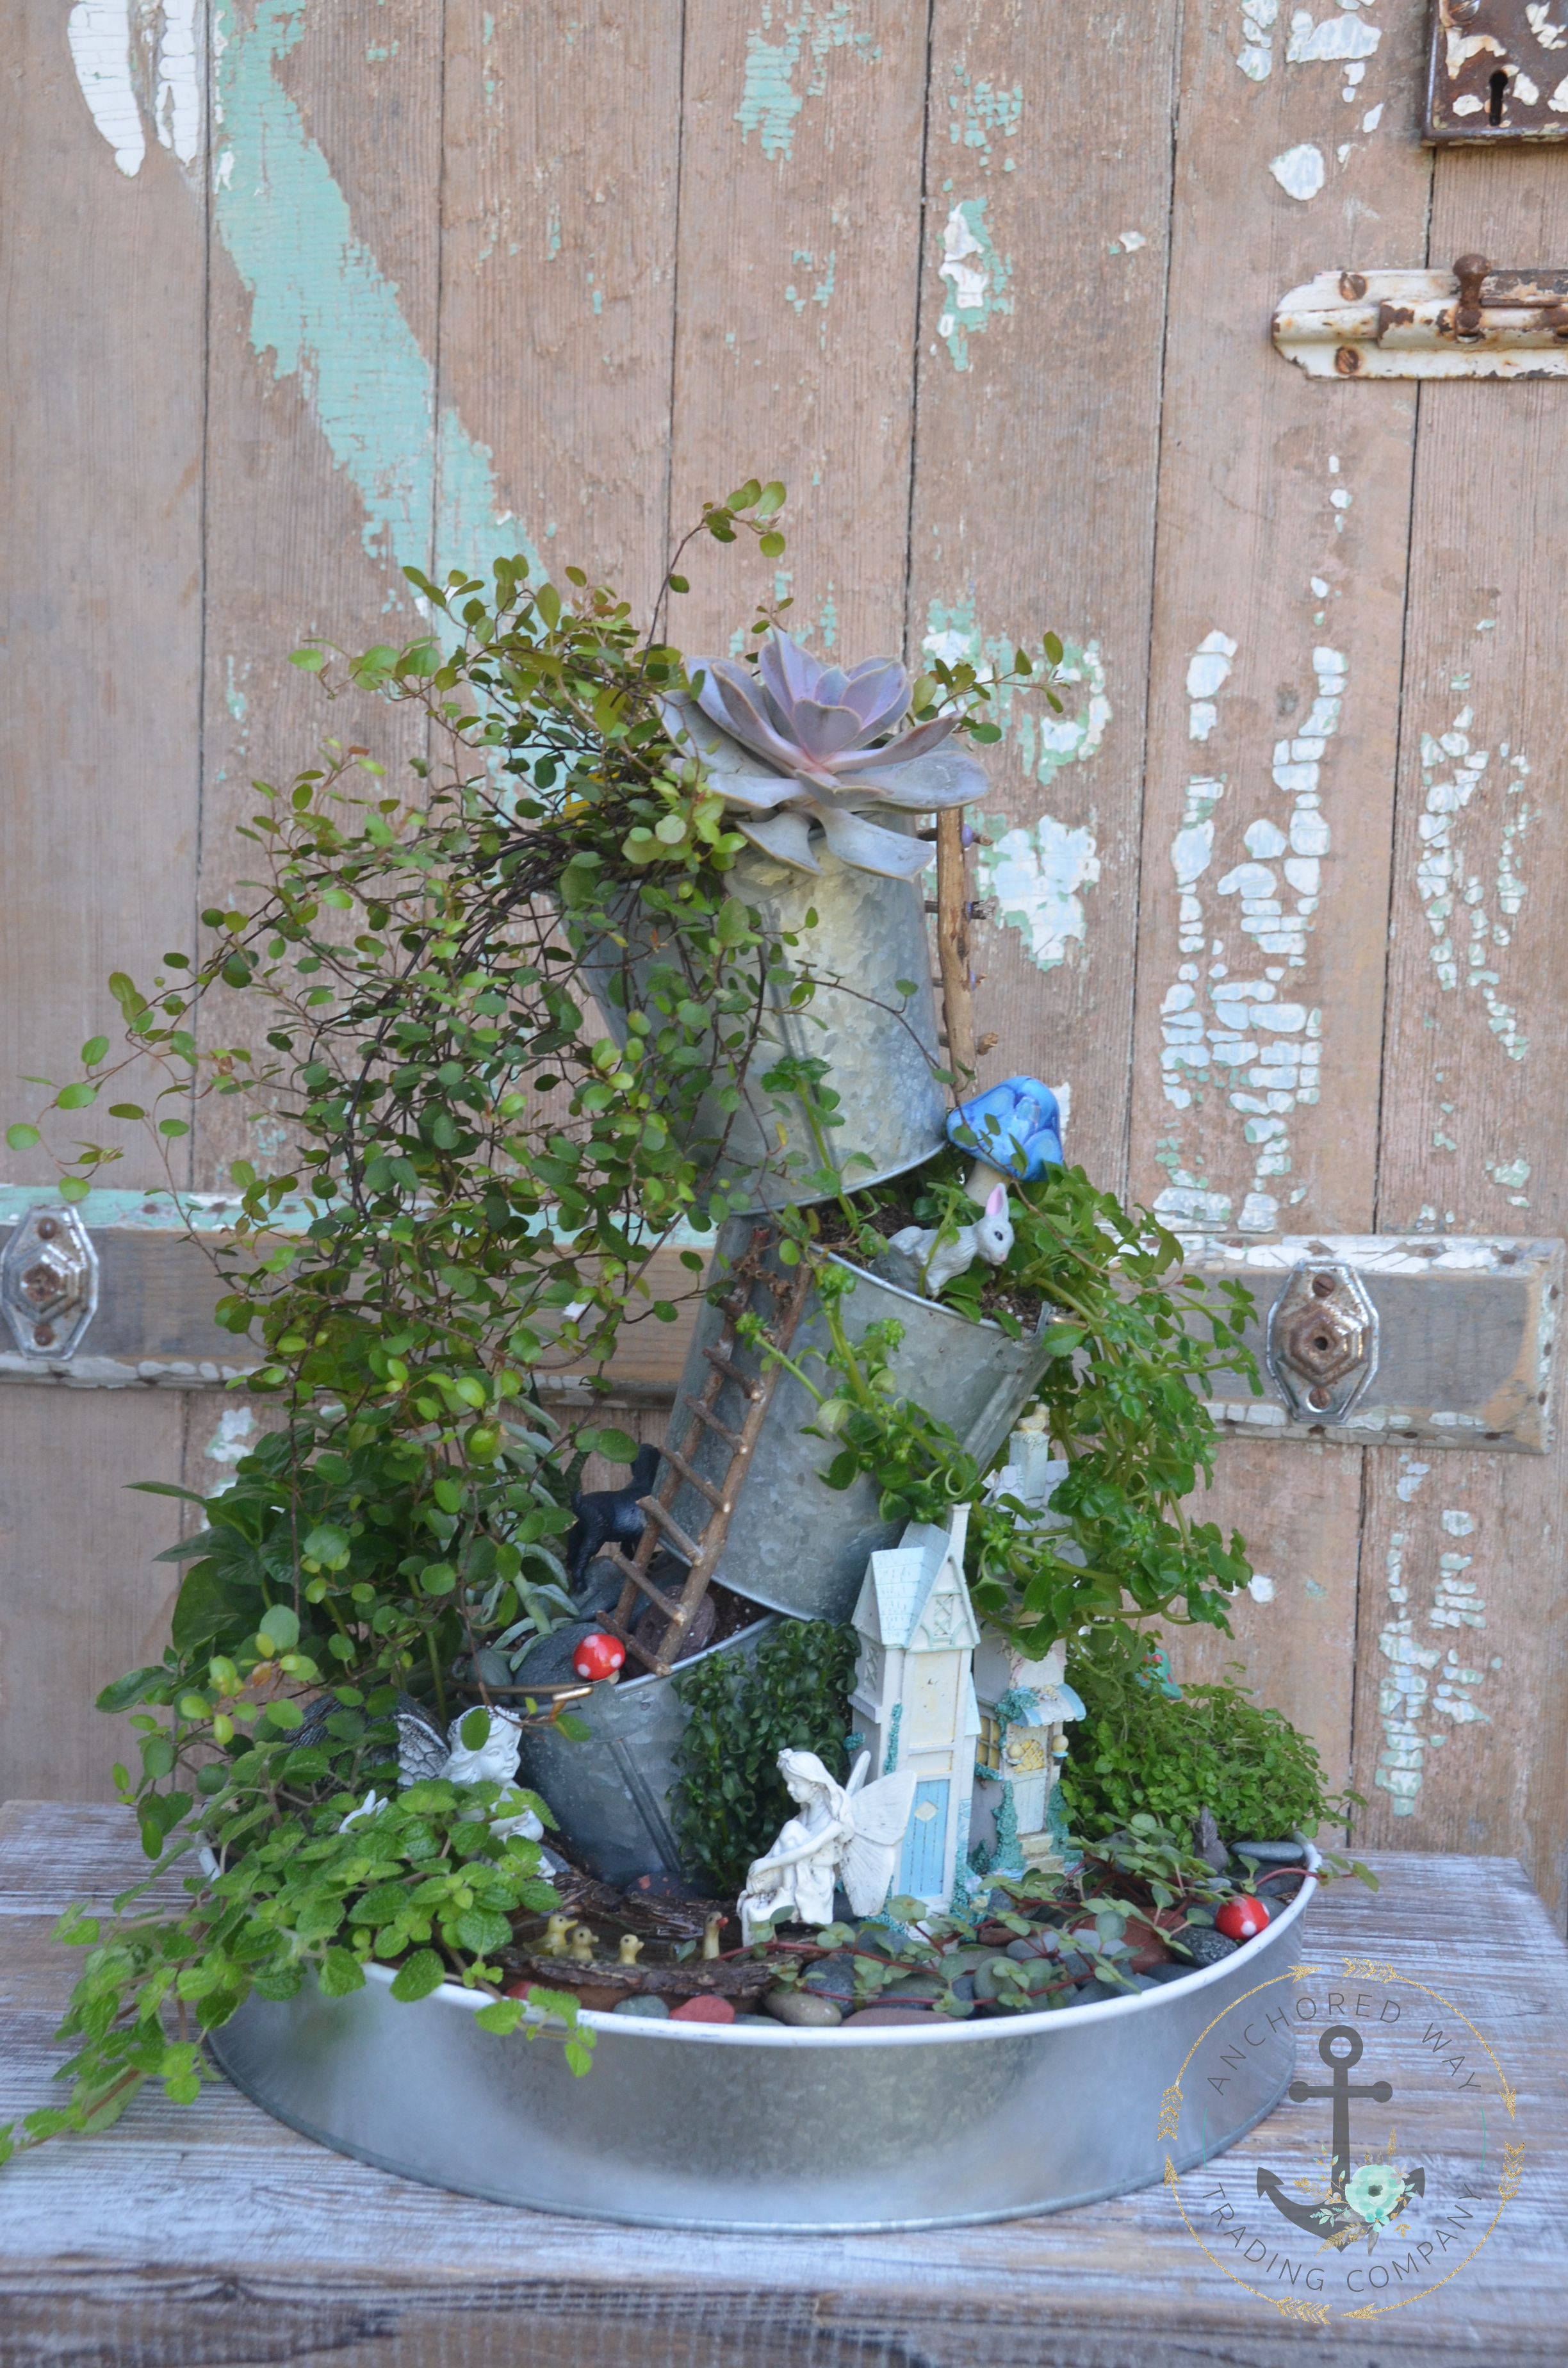
I have had a 2 tiered stand laying around for quite a while. Unsure what to do with it, I just let it lay in my workshop, knowing that one day I’d come up with some use for it. About a month ago, my daughter saw it while we were cleaning the garage and told me that we should turn it into a fairy garden. I absolutely loved her idea, so we ran with the thought, changing up a few things as we went, and created our very own mini Tipsy Planter Fairy Garden! This could be a great project for anyone, and especially for kiddos to help an adult with! You may not have exactly what we used, but look around your home, garage, sheds, thrift stores and see what you can find! Be creative! Most importantly, have fun!
Read below to see how we accomplished our latest little indoor garden of fun.
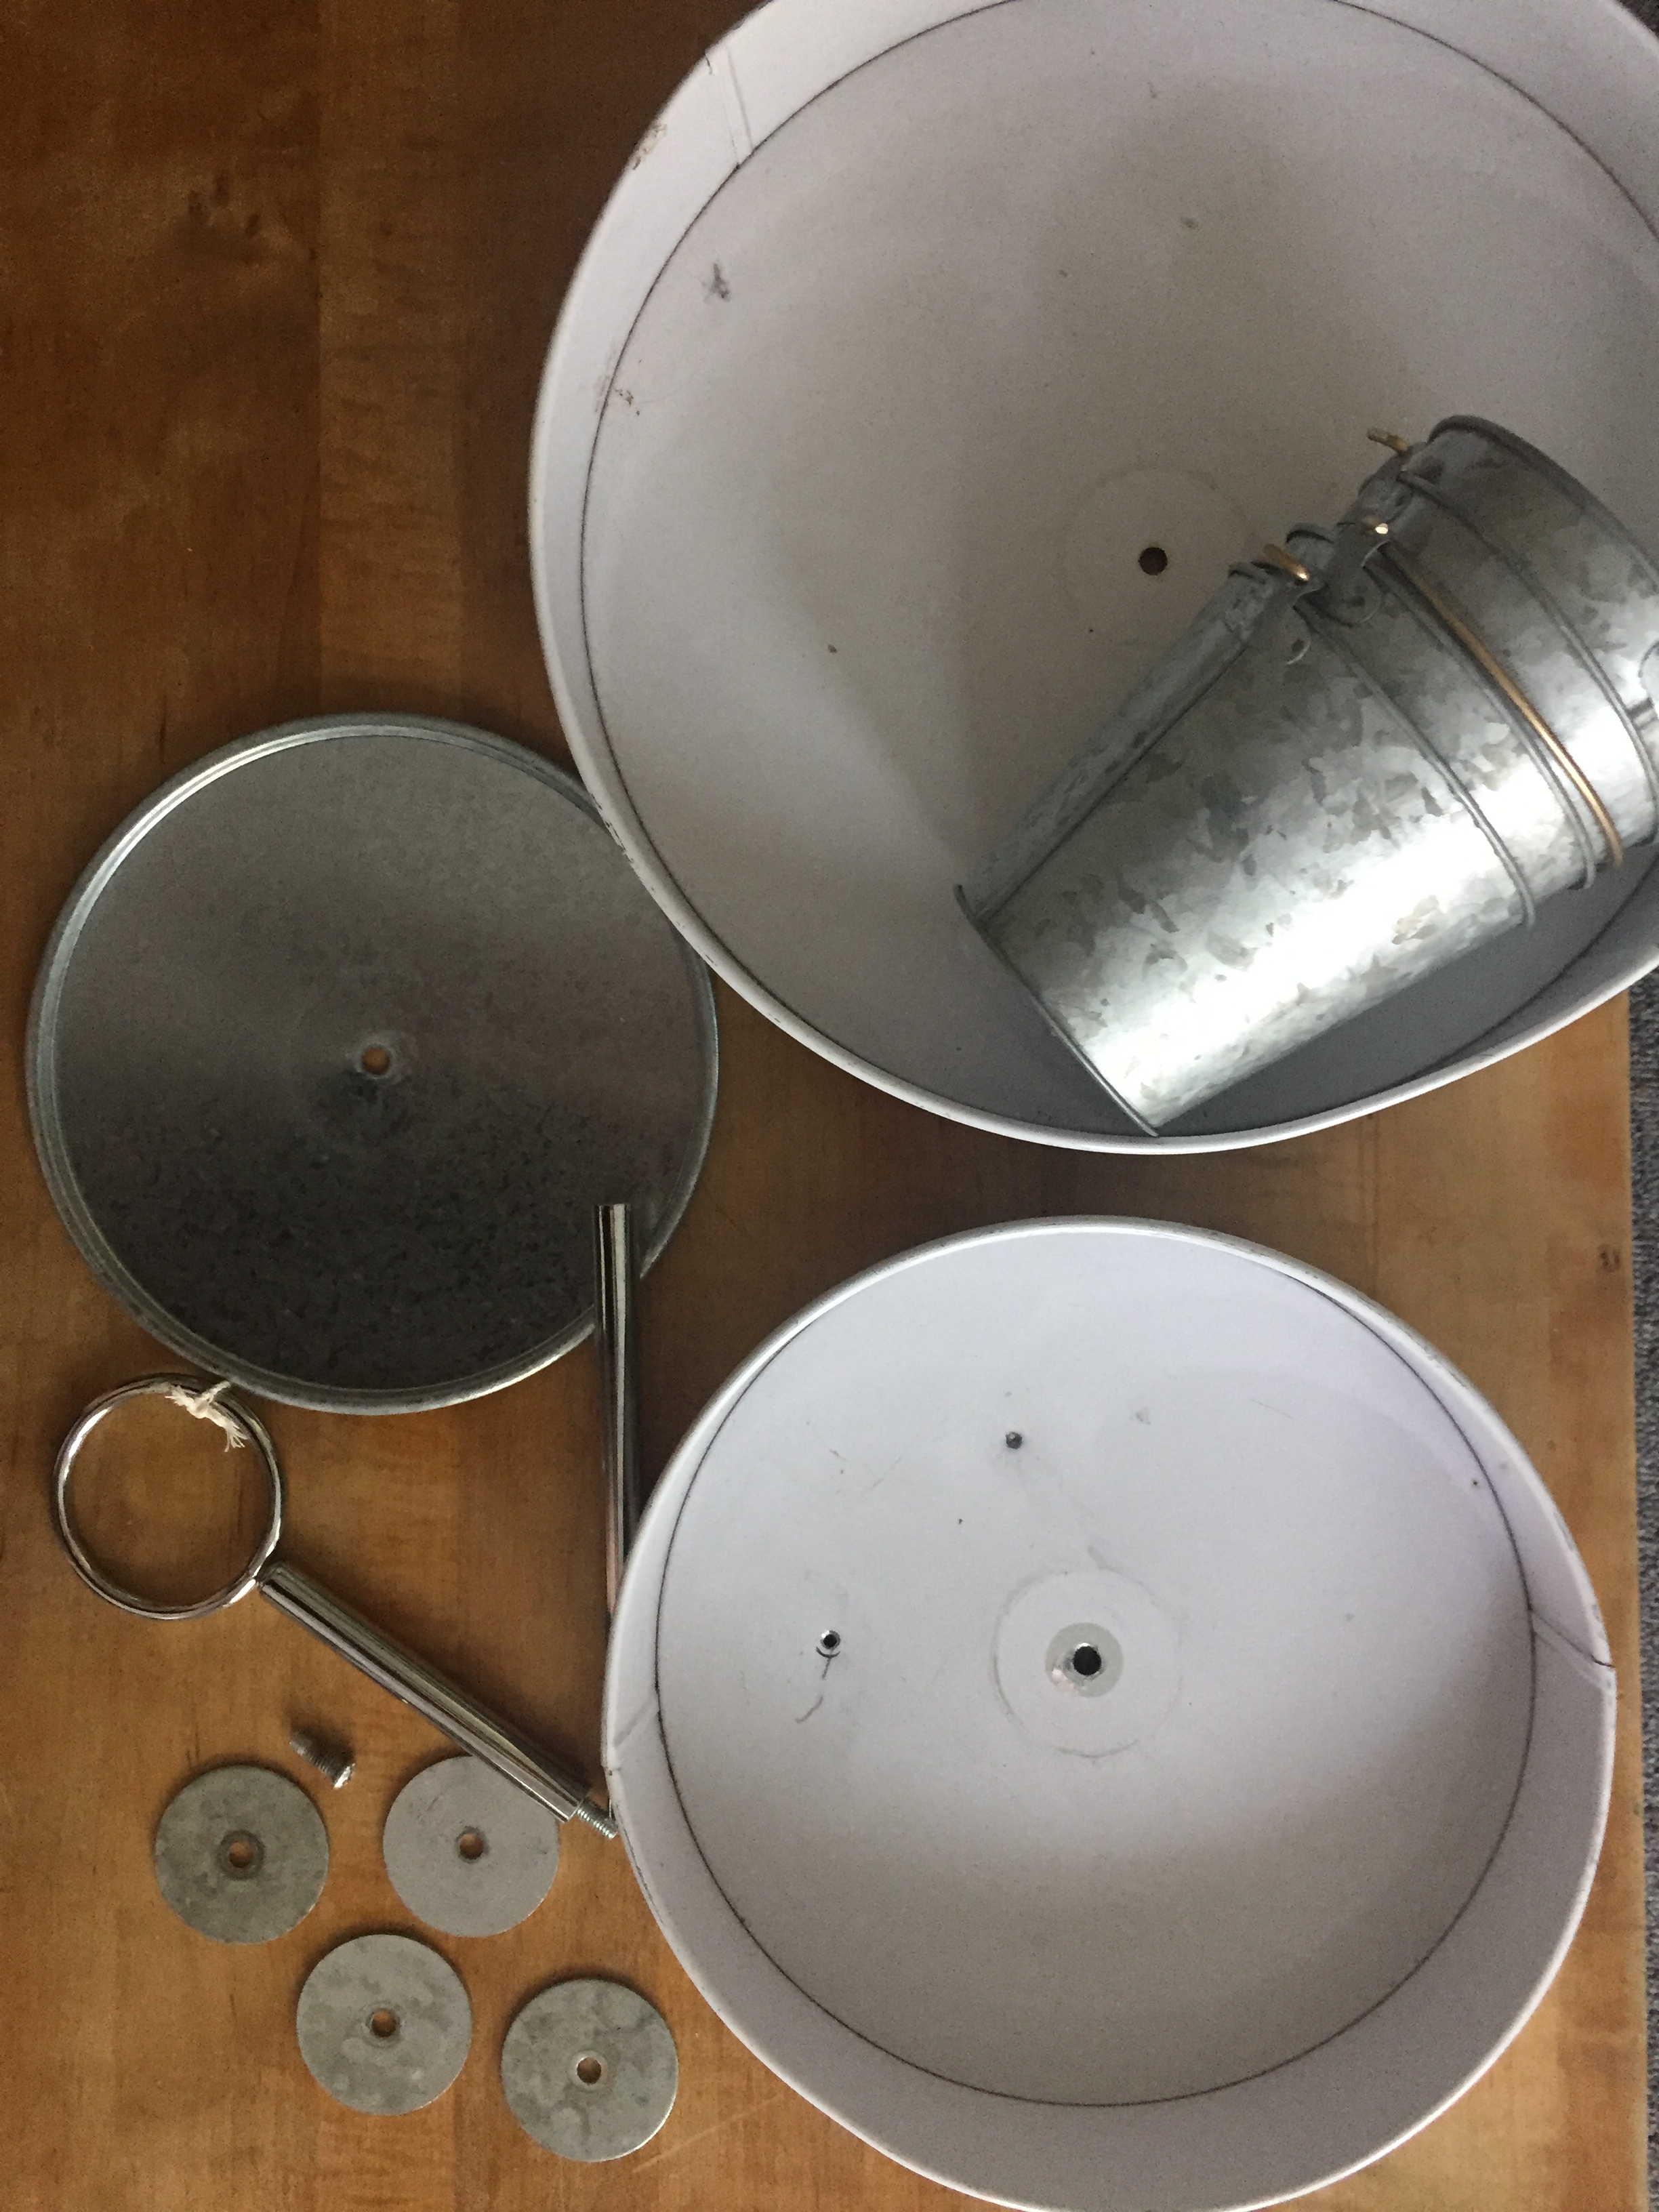
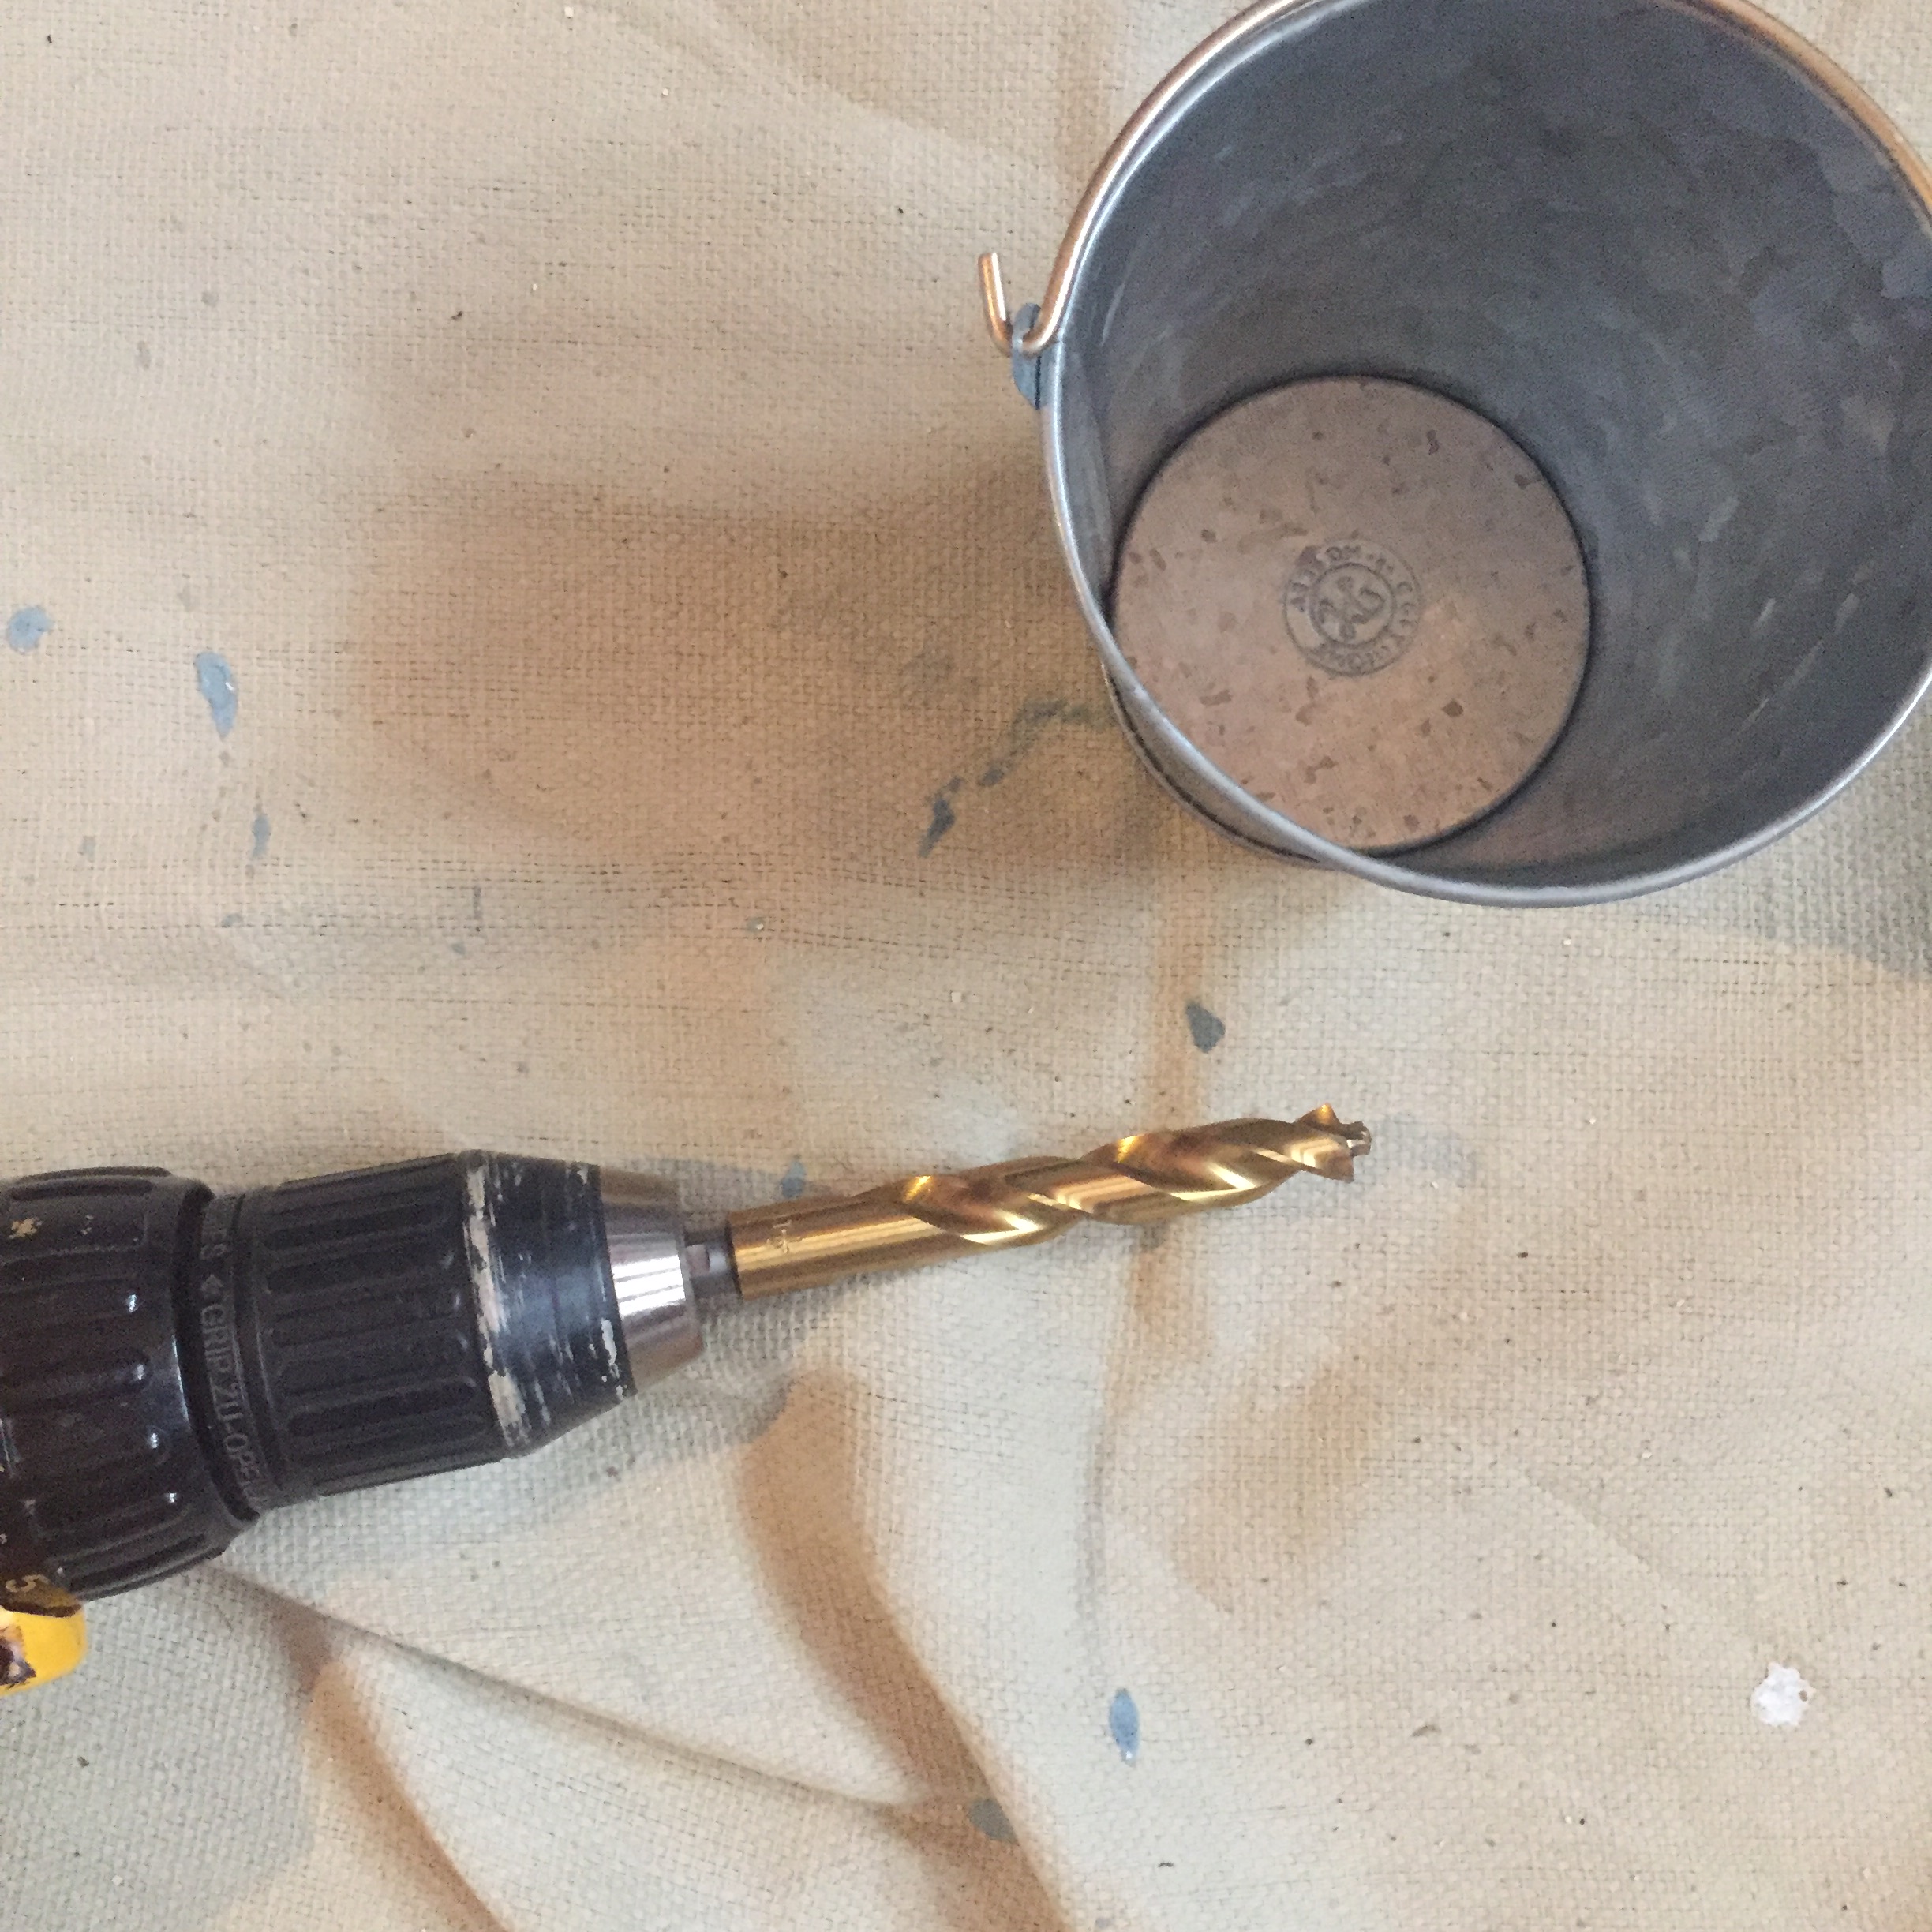
Starting with a disassembled tray, we discarded the top portion, but kept the larger bottom portion, as well as the center support and handle. I chose a drill bit that was slightly larger than the support piece, and drilled one hole into the center each of the three buckets. I also drilled several smaller hole into the bottom tray for drainage.
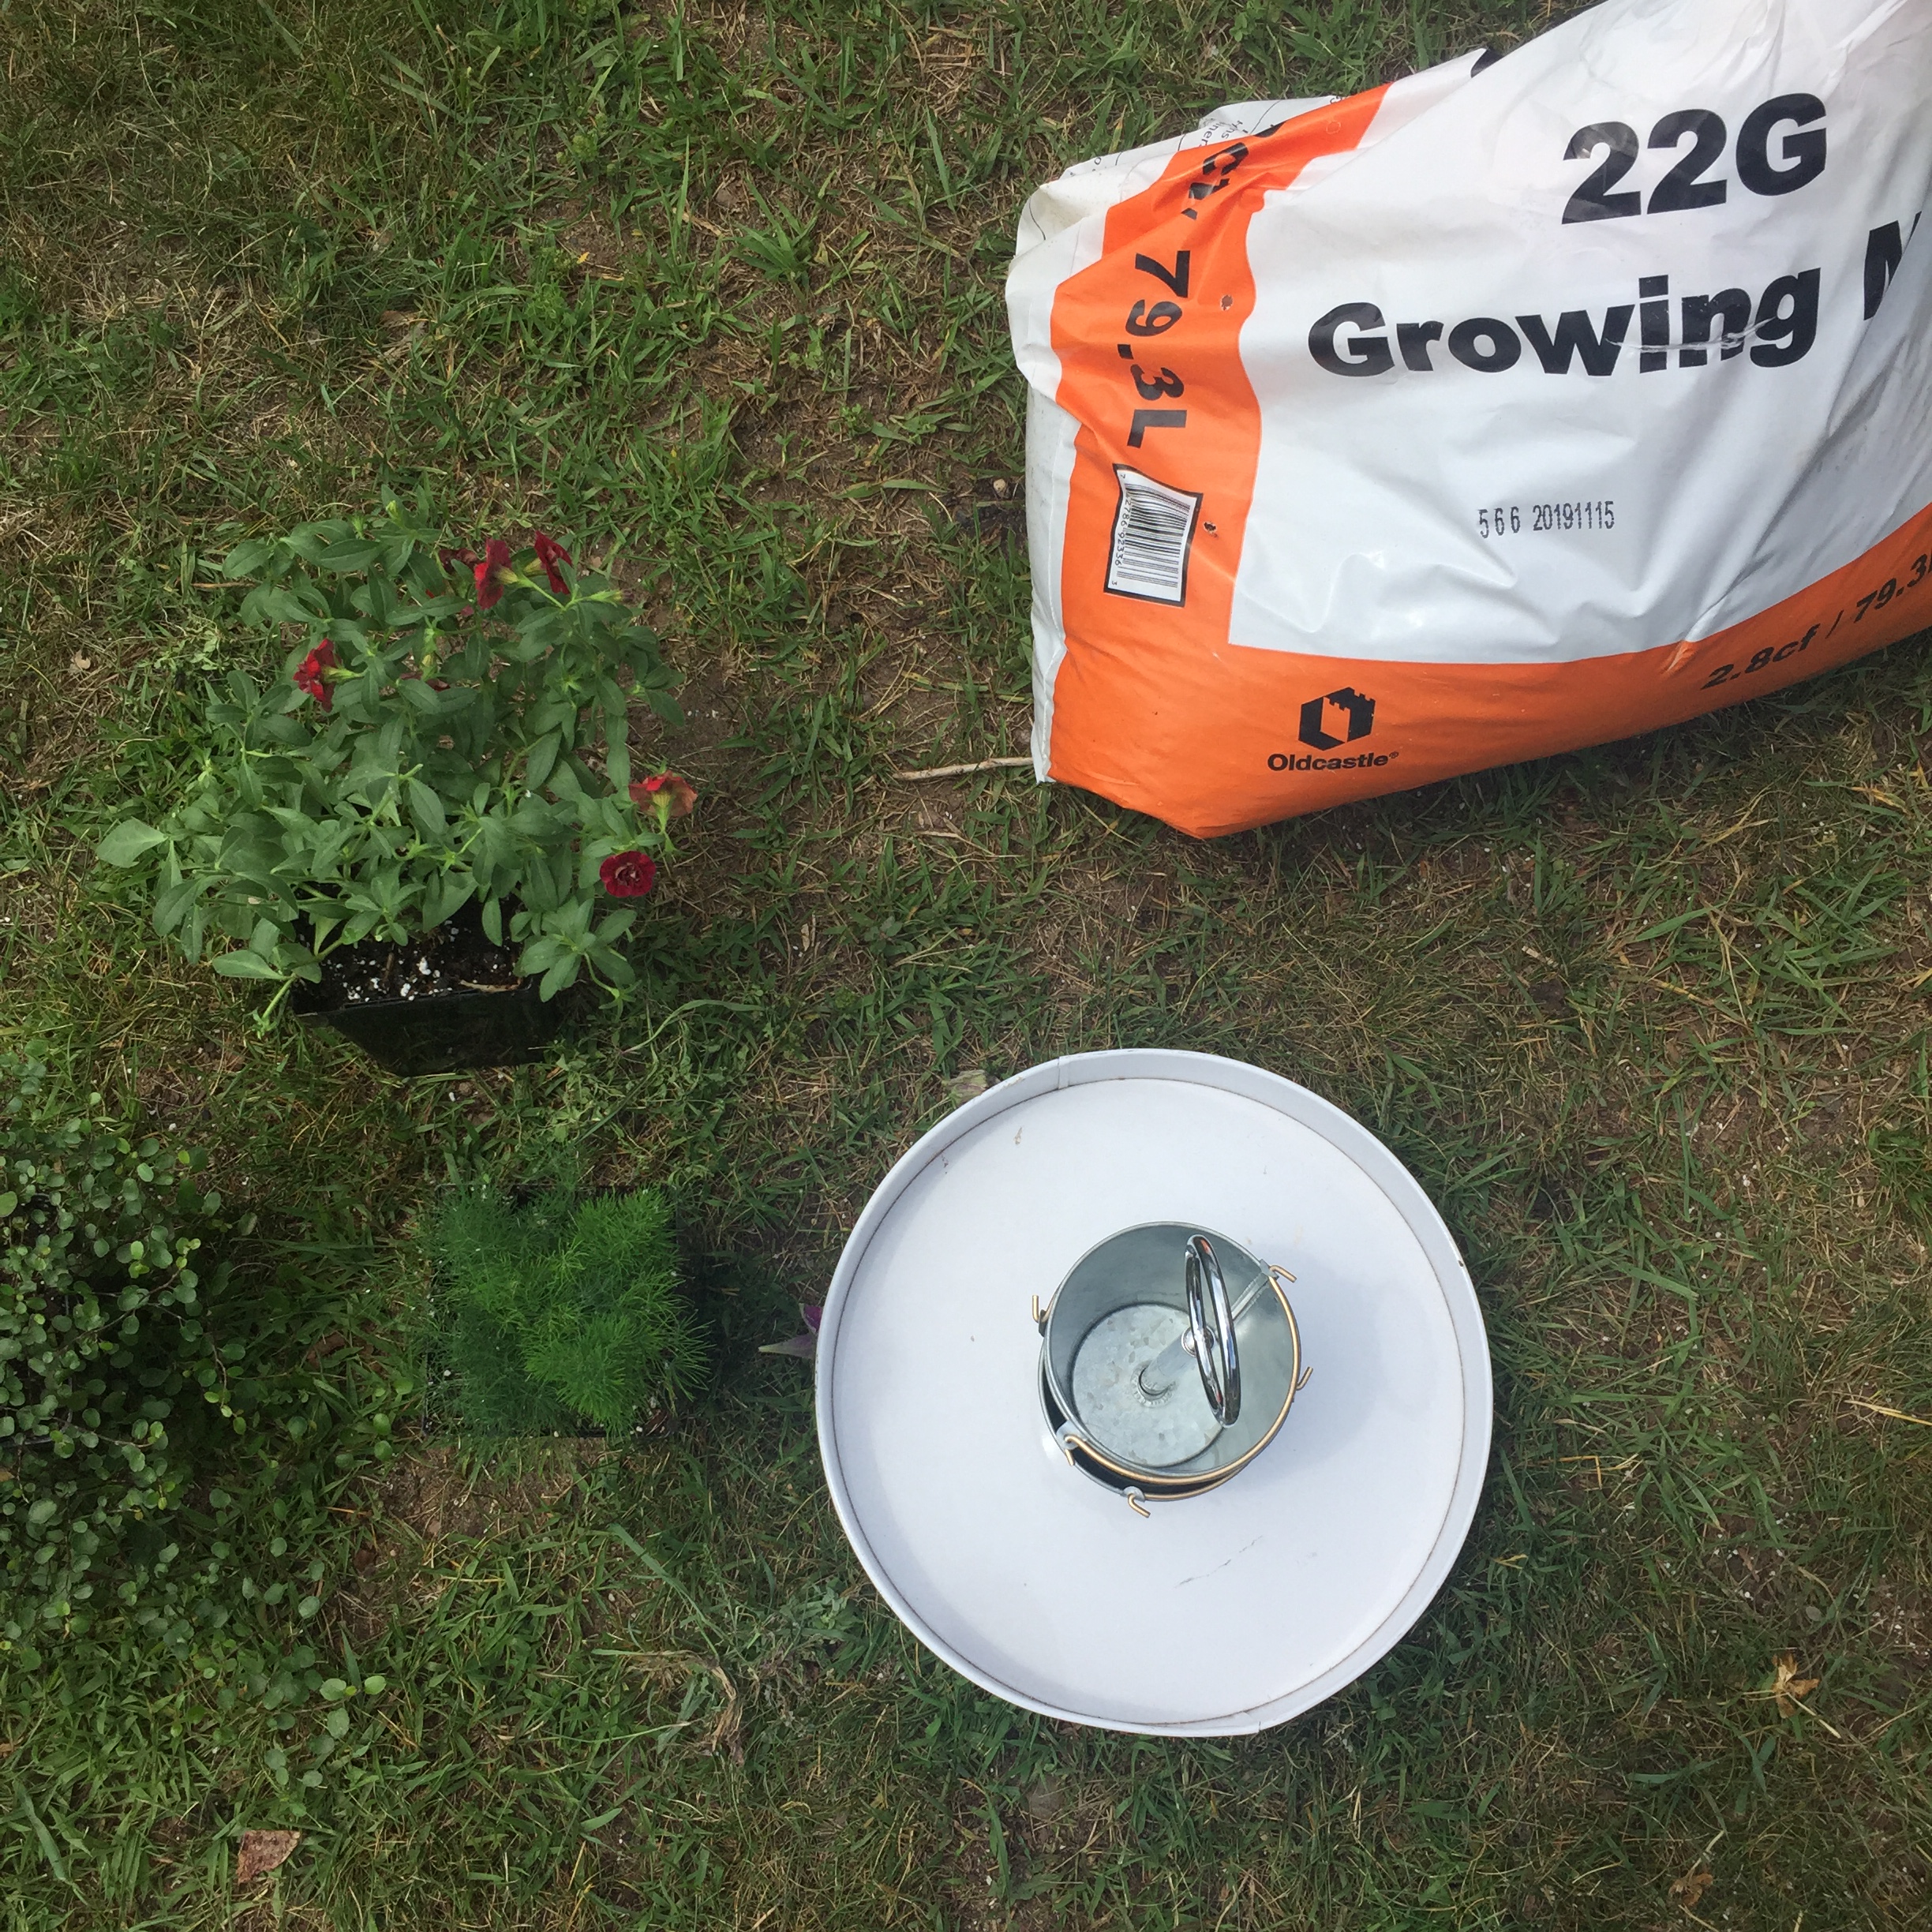
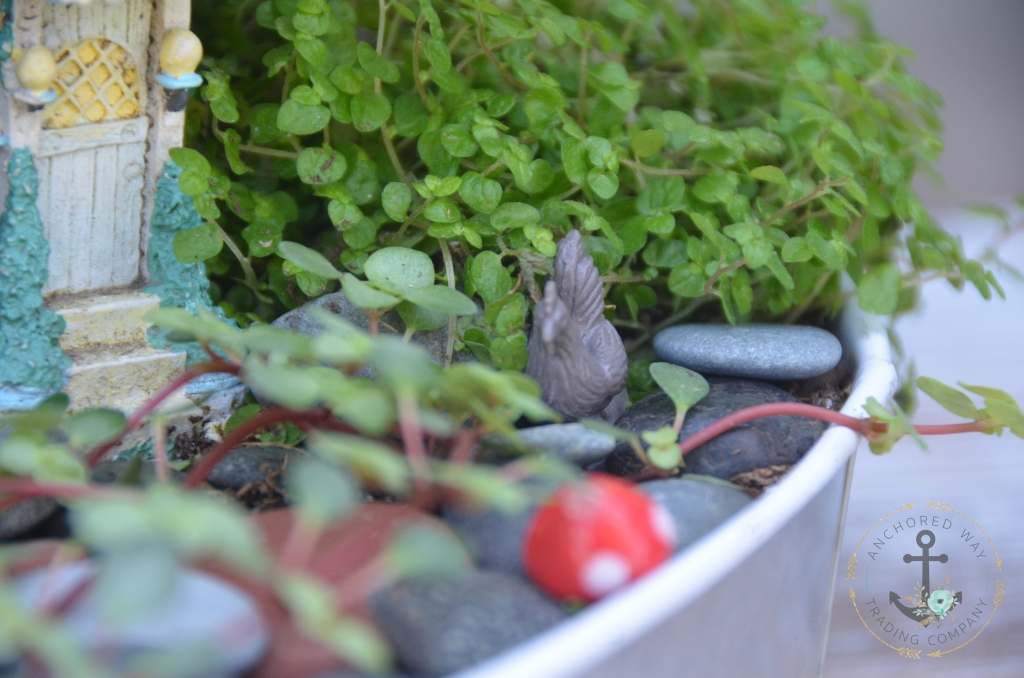
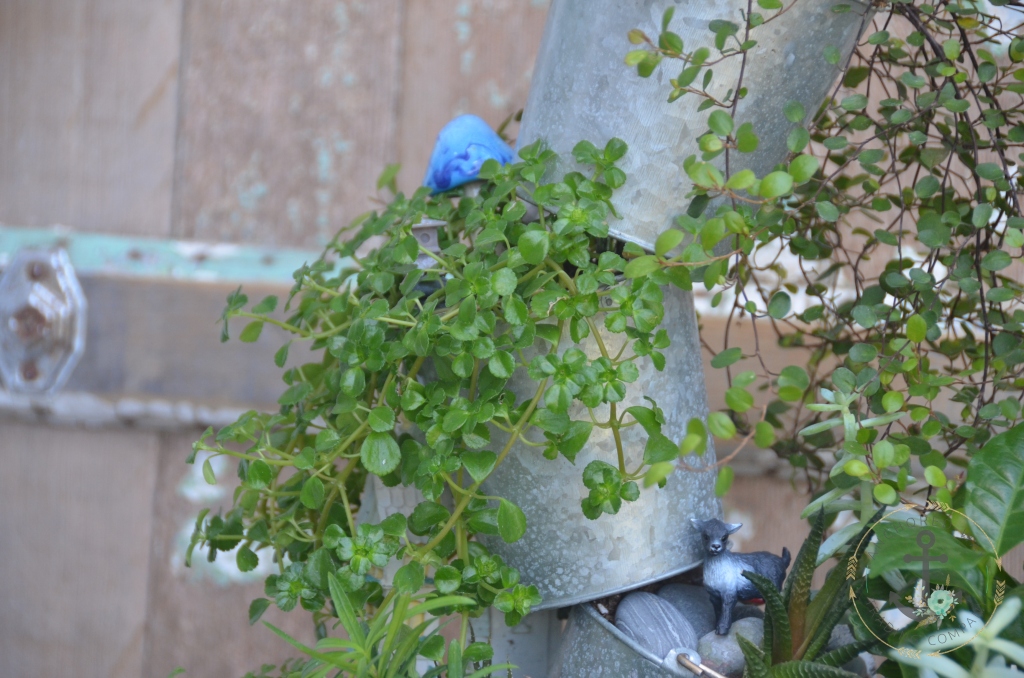
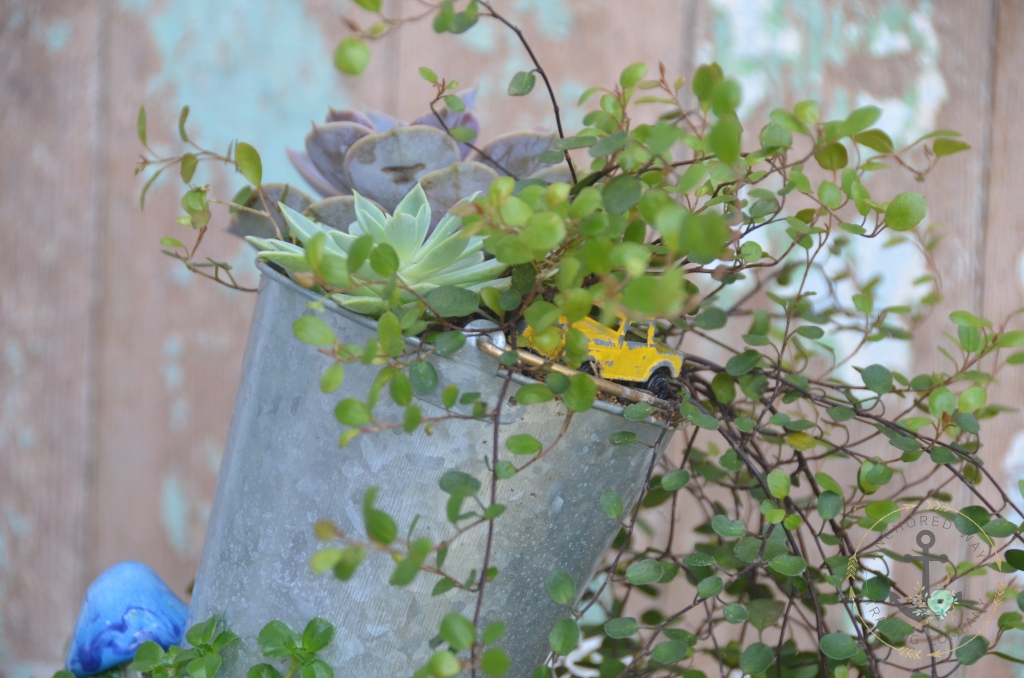
We added potting soil into the bottom tray + the three buckets, then put each bucket onto the ‘handle’ through the hole that we drilled. At this point, you can tip the pots whichever way you feel looks best. Next C. got to planting! All of the plants were purchased locally in Eau Claire, Wisconsin. We worked a while on getting plants put into the spots where we felt that they fit best, and then went around the garage, house and C’s bedroom and gathered found items to place into the fairy garden! This is the fun part! Use what you have and don’t be afraid to give something else a new purpose, like turning an old jar lid into a fairy pond! As time goes on, you can change things up, put in different plants as well as different accessories. Don’t be afraid to be a little weird and little whimsy with your design, it’s a fairy garden after all!
Below you can see more photos as well as steps that we took to complete our Tipsy Planter Fairy Garden!


After:


Click images above to enlarge or view a slideshow.
This was such a fun project and I am so thankful that my daughter wanted to join me and use her creativity as well. I hope this gives you some inspiration to get out in your garage or your workshop and create something beautiful out of something ordinary!

View this project over on Hometalk!
Follow Anchored Way on Facebook here!
